This Southern Girl Can
|
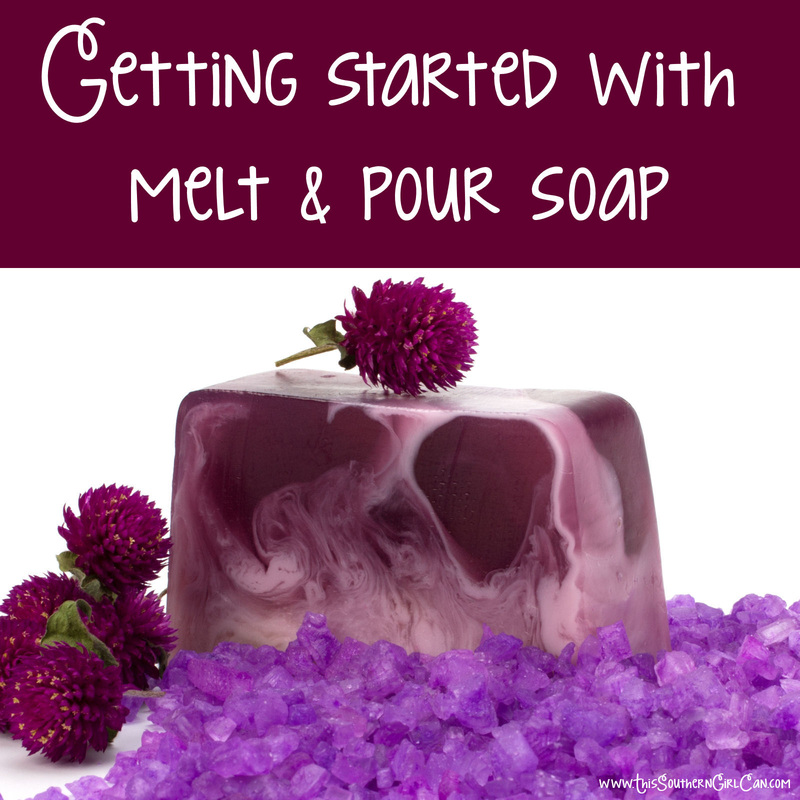
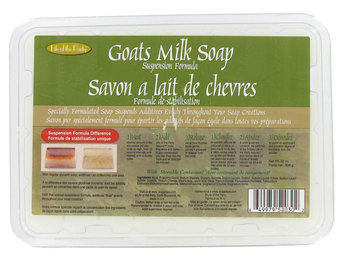
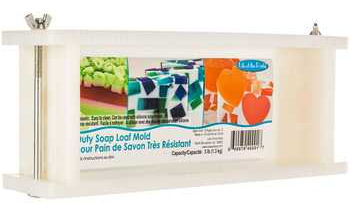
I've been soaping for many years, and began with melt and pour. It is a great way to learn how to make beautiful bars of soap without the dangers of measuring and mixing lye; however, it can be tricky getting started. There are so many different ways to scent, mold and color soap, and I have made many mistakes in the process of learning. I have so many wonderful followers who have expressed interest in learning the craft of soapmaking, so I decided to create a series of tutorials to help educate and teach the ins, outs, and rewards of this lucrative hobby. Soap is a wonderful item to learn how to make. It can be used in your home, given as gifts, and sold at craft fairs or in an online store. In this post, I will teach you some of the very basics you need to know in order to begin your journey in soaping. 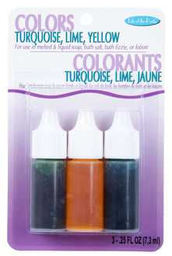 What is melt and pour soap? The term 'melt and pour' refers to the process of melting a pre-made soap base, adding your own color and scent, and then pouring it into a mold to harden. Once the soap is removed from the mold, it can be used right away. Other forms of soapmaking involve mixing lye with water and oils, letting the soap cure for days or even weeks, and can dangerous if you don't know what you're doing. Melt and pour lets you 'make' soap without handling lye. Other forms of soapmaking is known as 'cold-process' or 'hot-process'. I will teach you how to make these types of soap in future lessons. Melt and pour is kid-friendly, and can be used in intricate molds to create beautiful soap. Because it has a high moisture content, it won't last as long as a bar of soap made with the traditional lye method. Does melt and pour soap contain lye? Yes. You absolutely can NOT make bar soap without lye. Period. Melt and pour is simply a big block of pre-made soap that was created using lye. Let's learn soaping vocabulary There are many different terms used in soapmaking. I will teach you a few of the most-used words here, so you know what I am referring to in future lessons. Soap base: This is pre-made soap with no colors or scents added. Pure soap base is actually clear, although you can purchase white base as well. White soap base gets its coloring from titanium dioxide. There are several different types of soap base: plain, shea butter, goat milk, olive oil, and aloe. Although there are others, these are the most easily found. Colorant: Colorants are what you add to the melted soap base to give it, well, color. There are many different types of colorants available:oxides, pigments, liquids, micas, clays, and color blocks. I know this can sound overwhelming, but don't worry. I'll teach you all about the various types of colorants in another lesson. It is important to only use colorants that are specified for use in soap. Food coloring will turn your soap dull, and will fade into all sorts of ugly colors after the soap sits for a bit. Candle coloring is wax-based, and won't integrate into your soap. It will simply clump and look terrible. Molds: A mold is what you pour the melted soap into to make it take shape. There are SO MANY molds out there. I can't even begin to tell you how many molds I own, but I have them anywhere from the basic square and circles, to molds that were cast from real food into silicone that look absolutely real. Now, molds can cost a bit of money if you don't know where to look. Just because you are making melt and pour soap doesn't mean you have to use an actual soap mold. Hot and cold process soap is different, but that is the beauty of melt and pour. The lye isn't reactive, so you can use almost anything for a mold (as long as it is a bit flexible.) 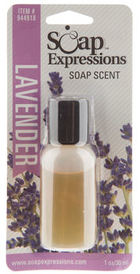 I have used square silicone ice cube molds to create large hunks of soap, and small decorative ice cube trays to make hand soaps. You can use candy molds, Jell-O jiggler molds.... the possibilities are endless really. Look at WalMart, IKEA, and any other homegoods store for molds. If you want to make slices of soap, you can find loaf molds which will hold a few pounds of soap at a time. You simply fill these up with soap, let it harden, then slice it up with a knife or slicing tool. I'll go into detail about molds in a separate lesson. Fragrance: This is what you use to scent your soap. You can use fragrance oils or essential oils to add scent to your soap. Never use candle, craft or potpourri fragrances. These are NOT safe for your skin and can cause severe allergic reactions. It is generally advised to use 0.25 ounces of fragrance or essential oil per pound of soap base. Always be careful when using essential oils, as those like peppermint can have a cooling sensation. Clove and cinnamon can burn the skin. I'll go into detail about the various types of scents and oils are safe to use in soap in a separate lesson. Embeds: These are small items such as dried flowers, slices of loofah sponge, and even small toys that you place inside your soap for decoration. I'll have a separate lesson for this. Additives: This is anything small that will be dispersed throughout the soap, such as ground apricot seeds and lavender buds. Again, I'll go into detail in another lesson. Where to buy soapmaking supplies: If you are just starting and don't want to have a huge stockpile of supplies, I suggest heading to your local craft store, like Hobby Lobby. There, you can buy soap base, molds, colorants, and fragrances. If you download the Hobby Lobby app onto your phone, you have access to a 40% off one item coupon every week, which is perfect for using on a block of soap base. If you want to buy from an online source, I have listed a few that I have found to be helpful. All of these sites carry everything you need to get started with soapmaking. Wholesale Supplies Plus Brambleberry The Chemistry Store For fragrances, my absolute FAVORITE site is Save on Scents. They carry over 2,000 fragrances, including dupes for famous scents. I have ordered from them for years, and have never had a problem or received a bad product. Now, if you're ready, I'll walk you through making your first bars of melt and pour soap. For this tutorial, I am using supplies that I purchased from my local Hobby Lobby. Any craft store should carry these supplies.
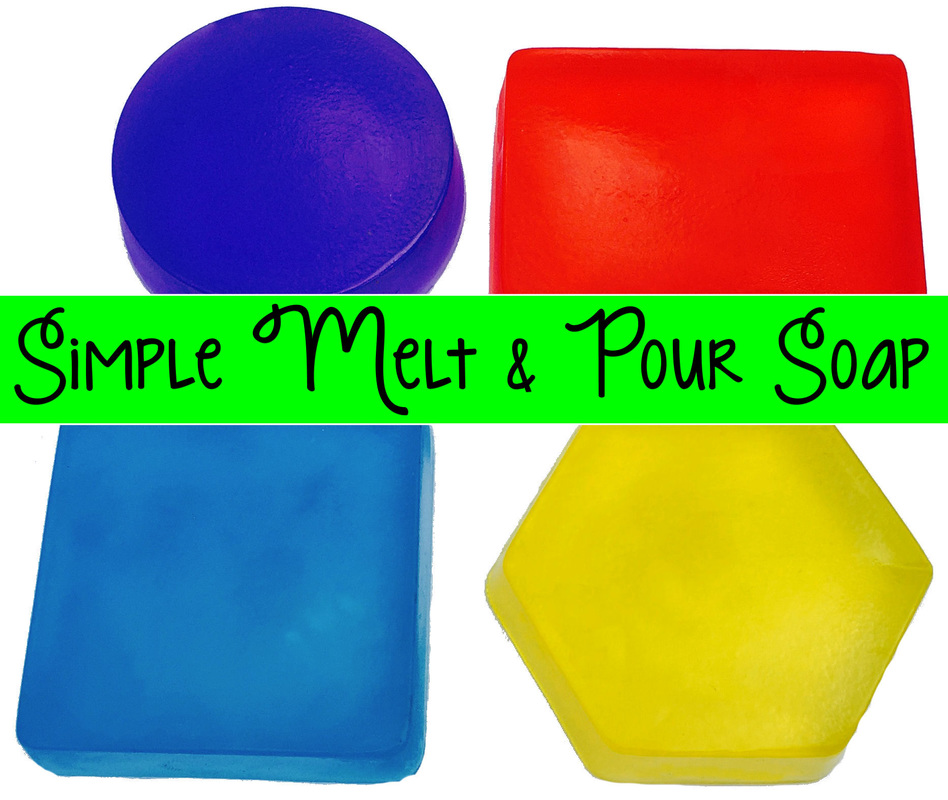
What you need: a soap mold clear soap base soap coloring soap fragrance a food scale (any cheap scale will do) a spoon a pyrex measuring cup a bottle of rubbing alcohol a small spray bottle How to make it: 1. We need to melt some soap base. Most soap molds from craft stores will hold 3 to 4 ounces of soap per cavity. My mold holds 3 ounces, so that is what I am basing this tutorial on. 2. Cut off pieces of soap from the block of soap base, and weigh it. Keep adding chunks of soap until you have 3 ounces. Make sure the chunks are fairly small so they will melt quickly and evenly. 3. Place the soap chunks in the measuring cup, and microwave for 20 seconds. Stir it a bit, and microwave it again for 10 seconds. Repeat this until all of the soap is melted. You do NOT want the soap to be bubbling, as this means it is too hot and will melt your mold. 4. Once the soap is melted, remove it from the microwave and carefully stir in 5 to 6 drops of coloring. Stir gently to avoid making bubbles in the soap. 5. Add roughly 10 to 15 drops of fragrance. Stir gently. 6. Pour the melted soap into one cavity of your mold. 7. There will probably be a ton of small bubbles on the surface of your soap. To get rid of them, add a bit of rubbing alcohol to a small spray bottle, and spray the soap once or twice. Most of the bubbles should disappear. Spray once or twice more to make sure all of the bubbles are gone. 8. Fill up the rest of the soap mold cavities in the same manner, using a different color for each soap. 9. Let the soap sit for a few hours to cool. 10. Once the soap is completely cool, turn the mold over and gently press the soap out. Try not to press too hard in one spot, as this can warp your mold. Gently press in one area, then move to another area to work the soap out slowly. 11. You're done! Wrap your finished soap in plastic wrap if you need to store it.
1 Comment
|
Archives |
