This Southern Girl Can
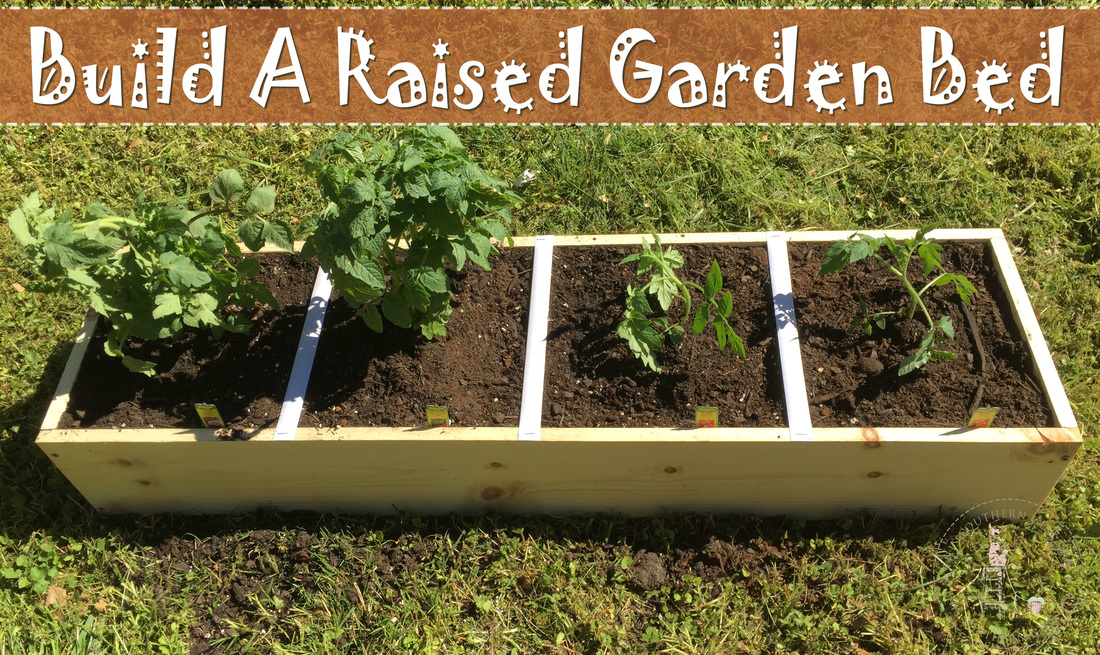
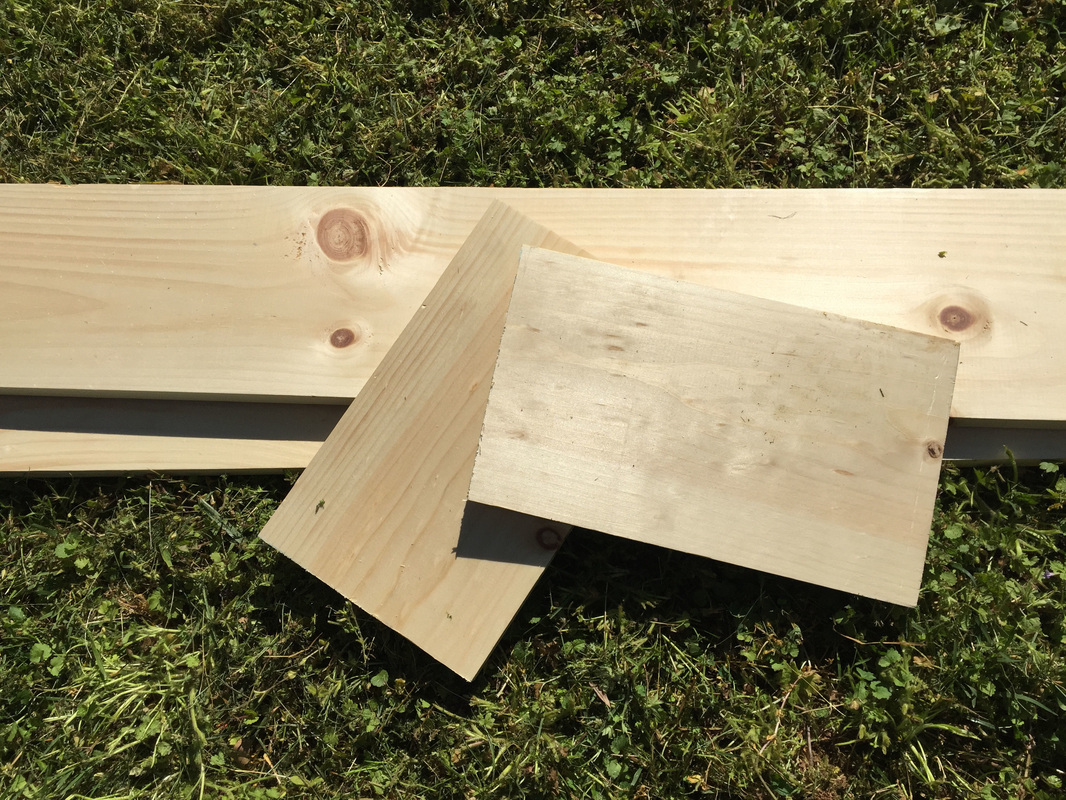
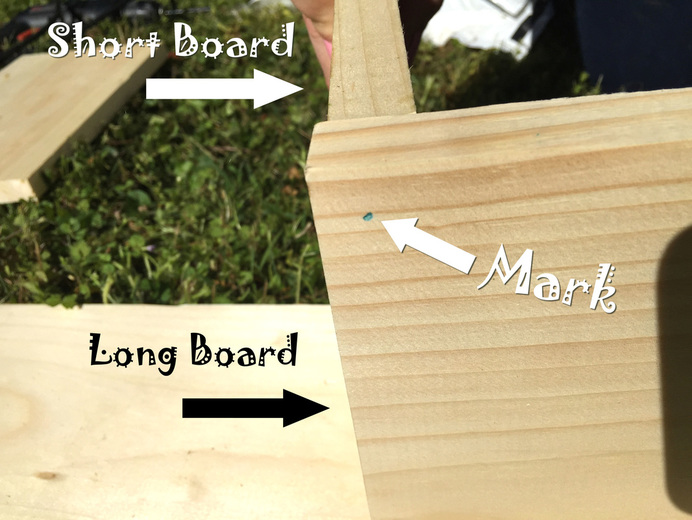
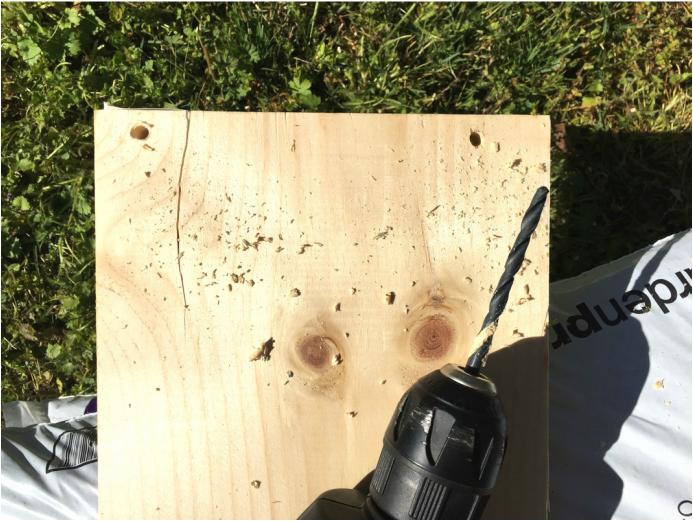
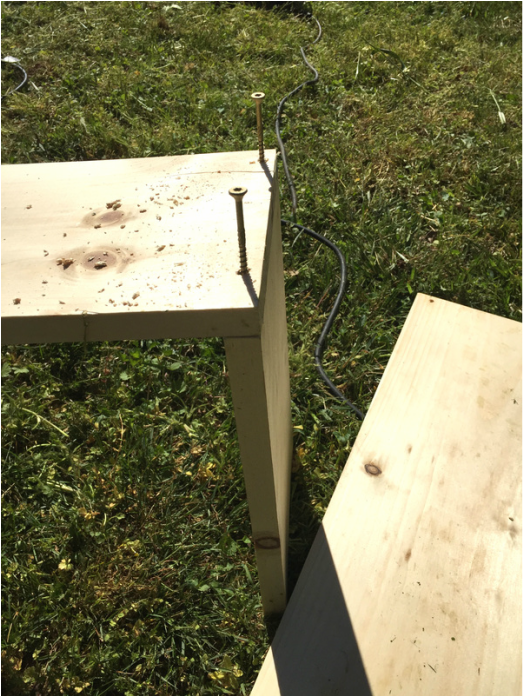
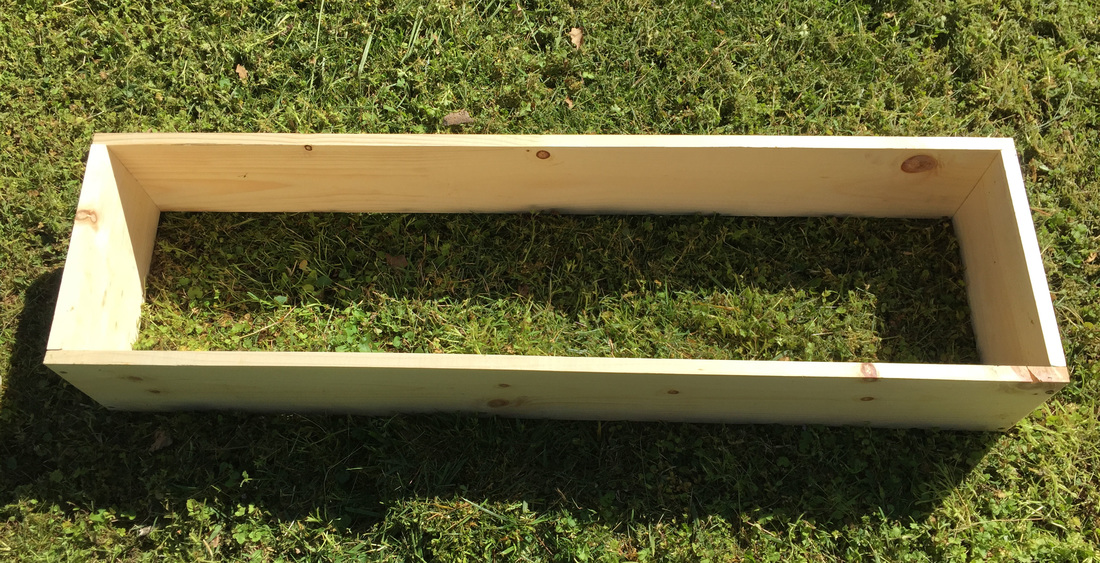
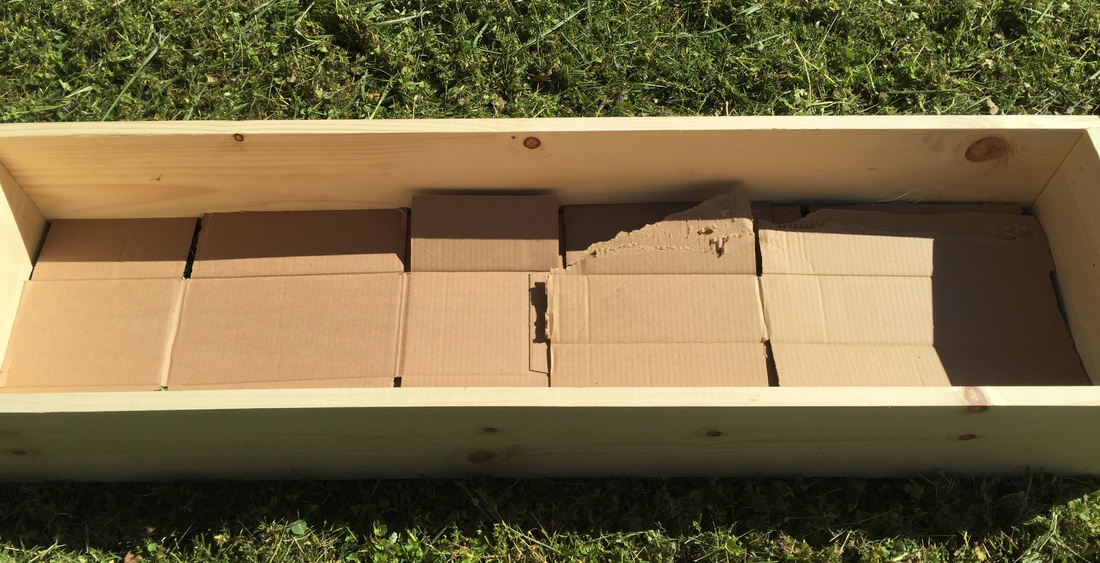
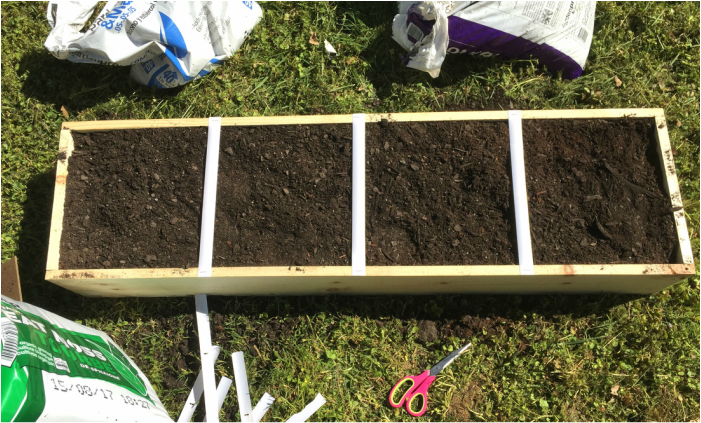
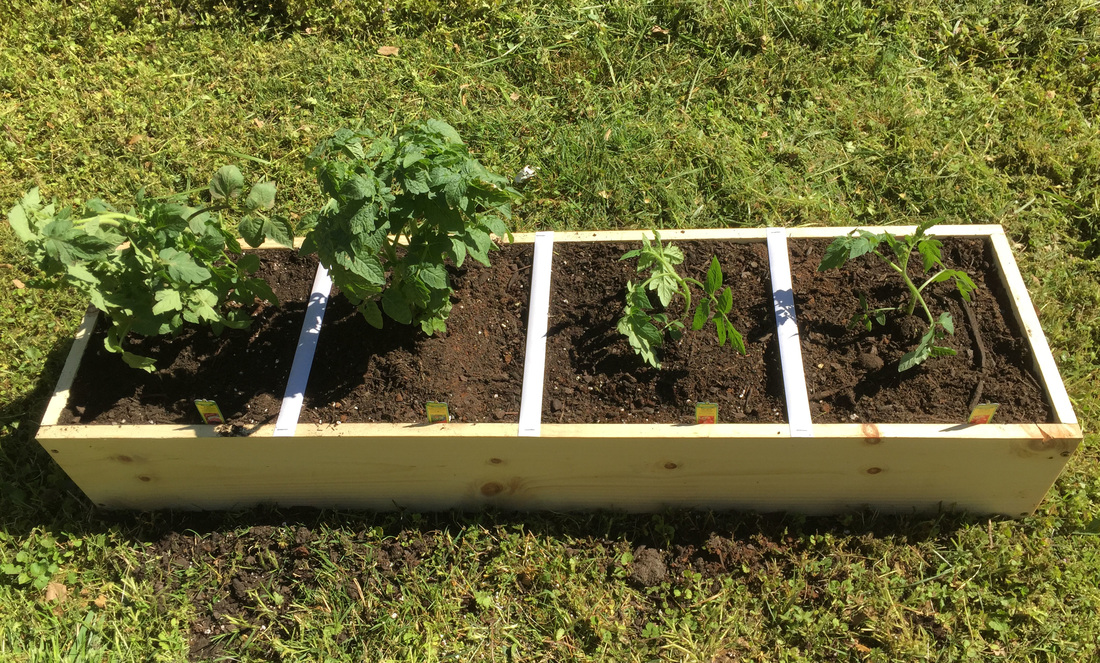
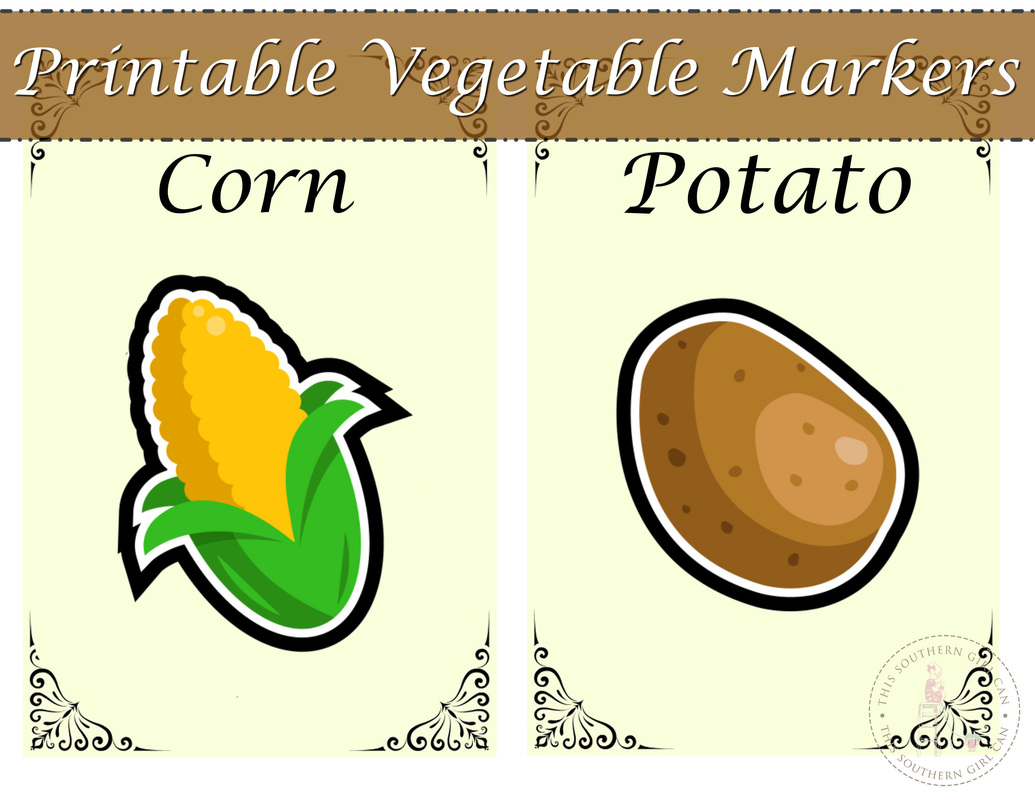
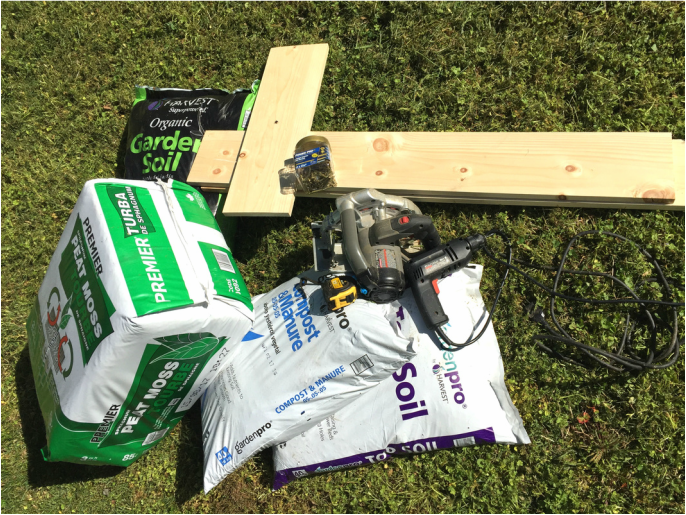 I'm a huge supporter of shopping for food at local farmer's markets. Not only does your money help support small business, it helps farmers maintain the dying art of growing food on a non-commercial level. Although buying from farmers is great, there is nothing better than biting into a juicy tomato or crunchy cucumber that you grew yourself. Many people think that just because they don't own a lot of land, they can't possible grow enough food to sustain a family. This is absolutely not true. I have been practicing the art of growing food in raised beds for many years, and can tell you there is no better way to bring fresh produce to the supper table. Raised bed gardening is simply growing food in a contained space, with a mixture of various soils, without digging holes or disturbing the ground. This forces the plants to grow in a nutrient-dense environment, with loose soil so their roots can grow quickly. This results in huge plants with a much larger production than those just stuck in the ground. Traditional gardening methods wastes so much space! I'm not going to go into details about how plants don't need as much space as you might believe, because I know you're ready to jump in and learn all about how to do it yourself, but let me speak just a minute about someone I have looked up to for years: Mel Bartholomew. He revolutionized backyard gardening with his square foot gardening method. His books go into detail about how this method is the best way to grow a lot of food in a small space. If you want to learn how to feed your family with little space, check out the book I've read many times: All New Square Foot Gardening. Ok. Let's get started building your first raised garden bed. To build a box for 4 plants like in the photo above, you're going to need: 1 10x6 untreated pine board newspaper or cardboard 4 3-inch wood screws peat moss garden soil compost top soil plants drill drill bit slightly smaller in diameter than the wood screws saw Now, you need to cut the board into four pieces. You need two 4-foot pieces, and 2 1-foot pieces. These will make up the sides of your box. Now we need to assemble the boards. To make the process easier, you need to drill holes in the boards before you screw them together. Fit your drill with a bit that is slightly smaller in diameter than the wood screws. You want to position the boards so the two smaller pieces fit inside the two long ones. Hold them together with one hand, and use a pen or pencil to mark two holes where the screws will go. Do one board, then the other. Now we need to drill holes where you made the marks. This makes it much easier to insert the screws. Now, attach the long boards to the short ones. You can use the bags of soil to help prop the long board up while you screw the two together. Repeat this on each side until you have a box! Now step back and admire your new box! Don't get excited just yet. We're not finished! We need to make sure that the grass and weeds don't come through the soil later on. You can either lay down a layer of weed cloth or just layer some cardboard in the bottom. I use cardboard. A thick layer of newspaper will work well also. Now is the time to add in our dirt. The book I mentioned earlier has a recipe for a specific mix. I don't follow any specific directions for my dirt mix. I just pour in a layer of compost, a layer of top soil, a layer of gardening soil and a layer of peat moss. The peat moss keeps the dirt mix airy, so the roots of your plants don't have to grow through compacted soil. Gardening soil contains vermiculite, which holds water and steadily releases it. Keep adding the various soils until the box is full, then mix it all together. Water it well. This dirt mix drains water very well, so you don't really have to worry about over-watering. It will also allow the roots of your plants to grow very quickly, resulting in huge plants in a short time. This is completely optional, but I like to divide the spaces in my garden boxes evenly using old blinds. Simply take a slat from a set of blinds, and staple them across the box in equal increments. This gives the box a more streamlined look, and keeps everything neat and uniform. Now, add your plants! In this box, I planted a few different varieties of tomatoes. Simple, right? There really is no limit as to how you can design and arrange your raised garden. If you have used this type of gardening method, I would love to hear about it! Now that you know how to build garden boxes to grow your own food, you should spruce it up a bit with these free printable garden markers I created just for my readers! Simply print them out on cardstock, laminate them, glue them to popsicle sticks, and stick them in the dirt! If you don't have a laminating machine, you can find laminating sheets in stores like WalMart that do not require any heat to use.
2 Comments
|
|||||||||||||||||||||||||||||||||||||||||||
|
Home
About Contact |
This Southern Girl Can is a participant in the Amazon Services LLC Associates Program, an affiliate advertising program designed to provide a means for sites to earn advertising fees by advertising and linking to Amazon.com.
|
