
Composting is an excellent way to turn your food scraps and yard waste into nutrient-rich soil that can be used to fertilize your garden or plants. If you're new to composting, it might seem a bit daunting at first, but it's actually a very simple and rewarding process. Please check out my YouTube channel by clicking here.
Why Composting is Important Composting is essential for reducing the amount of waste that ends up in landfills. When organic matter, like food scraps and yard waste, is left to decompose in landfills, it produces methane, a potent greenhouse gas that contributes to climate change. By composting, we can reduce the amount of organic waste that ends up in landfills and help to reduce our carbon footprint. Composting also helps to improve the quality of soil by increasing its ability to retain moisture and nutrients, which is essential for healthy plant growth. Additionally, composting can help to reduce the need for chemical fertilizers and pesticides, which can harm the environment and wildlife.
How to Start Composting
Starting a compost pile is easy, and you don't need any special equipment to get started. All you need is a designated area in your yard or a compost bin. Here are the steps to get started:
2. Gather Materials To start a compost pile, you'll need a mix of green and brown materials. Green materials are high in nitrogen and include things like food scraps, grass clippings, and coffee grounds. Brown materials are high in carbon and include things like leaves, straw, and newspaper. Aim for a 50/50 mix of green and brown materials.
3. Layer Materials
Start by layering your brown materials on the bottom of your compost pile or bin. Then add a layer of green materials on top. Continue layering until you have a pile that's about three feet tall. 4. Water and Turn Water your compost pile to keep it moist, but not soaking wet. Then, use a garden fork to turn the pile every few weeks. Turning the pile helps to aerate it and speeds up the decomposition process. 5. Wait and Watch It can take several months for your compost pile to break down completely. During this time, you can continue to add green and brown materials to the pile as they become available. When your compost is ready, it will be dark brown, crumbly, and have a sweet, earthy smell.
Tips for Successful Composting
Here are a few tips to help you get the most out of your compost pile:
Composting is a simple and rewarding process that anyone can do. By turning your food scraps and yard waste into nutrient-rich soil, you're not only reducing the amount of waste that ends up in landfills but also helping to improve the health of your soil and reduce your carbon footprint.
If you're new to composting, don't be intimidated. Starting a compost pile is easy, and all you need is a designated area in your yard or a compost bin. Remember to balance your green and brown materials, keep your pile moist, turn it every few weeks, and be patient. With time and a little effort, you'll have rich compost that can be used to nourish your garden and plants. Composting is also a great way to get your whole family involved in sustainable living. It's an opportunity to teach your children about the importance of reducing waste, recycling, and taking care of our planet. Plus, it's a fun and educational activity that everyone can participate in.
0 Comments
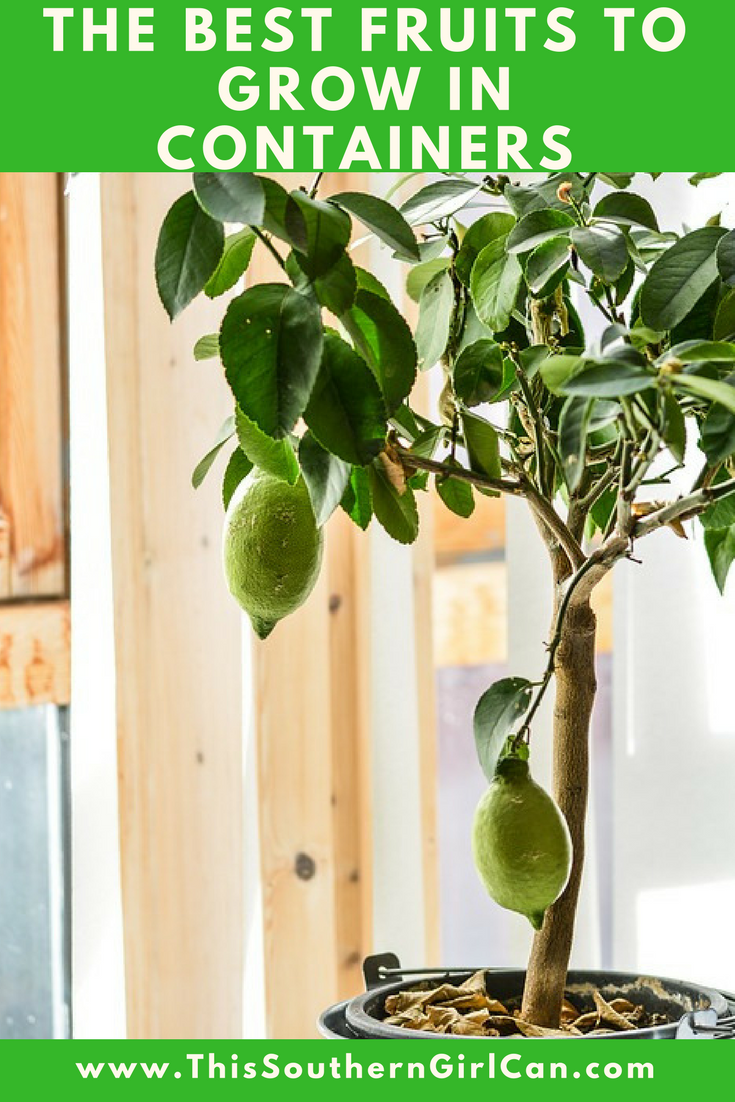 Container gardening is an easy way to grow a fresh supply of vegetables, fruits, or herbs without having to plant an entire garden. It's perfect for individuals with limited space who still want to be able to enjoy fresh produce. Below, we'll take a look at a few of the best fruits to grow in containers.  1: Lemons Lemons are always at the top of my list for an easy fruit to grow in containers. Although there are many varieties to lemon suitable for container gardening, I believe either Dwarf Eureka, Improved Meyer, and Lisbon to be the best. 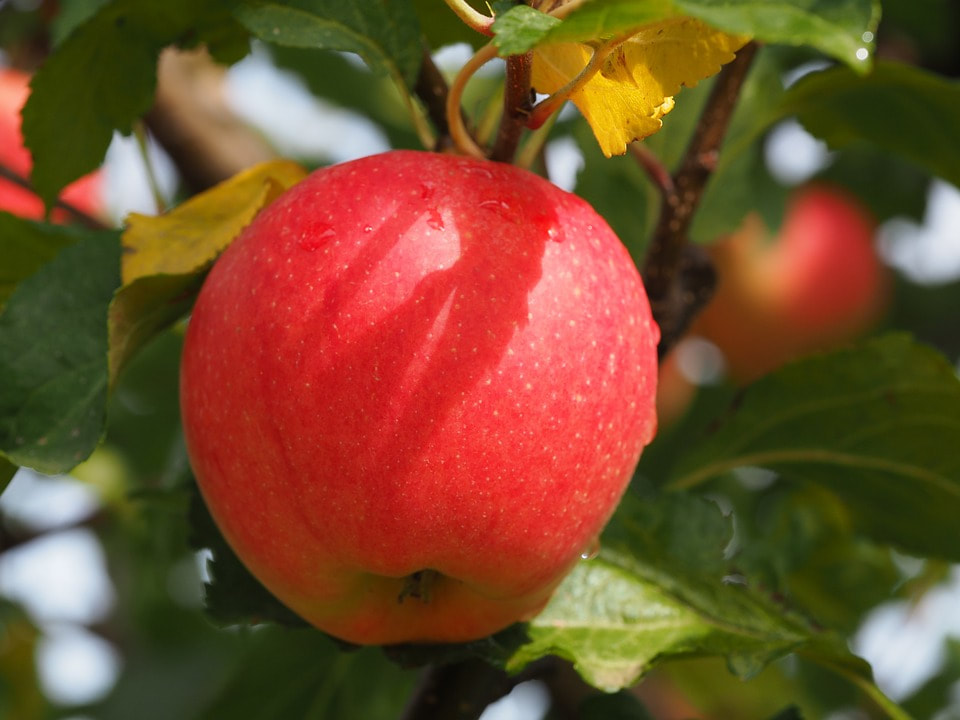 2: Apples Yes, apples are easy to grow in containers, but only if you choose the right variety. No matter what variety you choose, make sure it is a 'dwarf' tree. When shopping, make sure to look for rootstocks such as M27, M26, Bud9, G16 or M9. Trees grown from these rootstocks will stay under 8' in height, making them the best apple trees for container gardening. 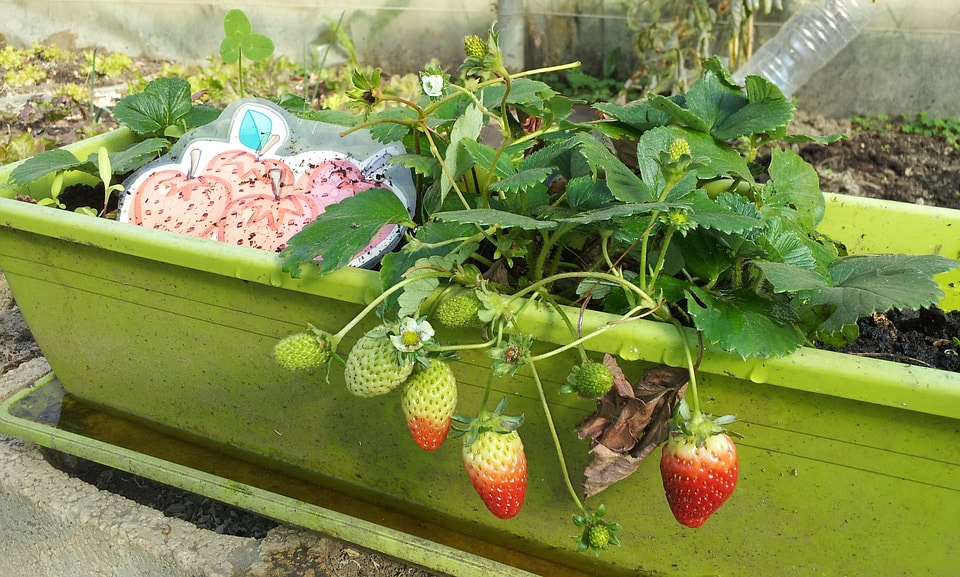 3: Strawberries Strawberries are my absolute favorite fruit to grow in containers. Strawberries are hardy plants, and are easy to grow. Just one plant can provide you with a handful of delicious berries every now and again if you take proper care of it. 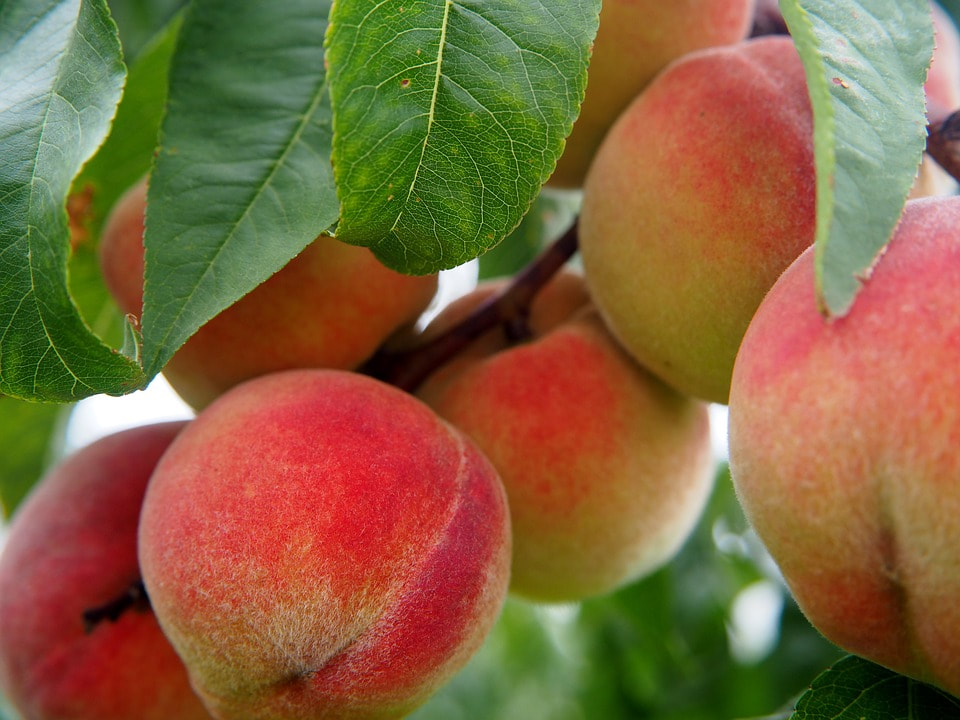 4: Peaches Peaches are easy trees to grow in containers, and come in several varieties. Golden Gem, El Dorado, Garden Gold, and Southern Sweet are just a few that will grow to a height of between 6' to 8'. The great thing about these varieties is they are self-fertile, so you can grow only one if that is what your space allows. 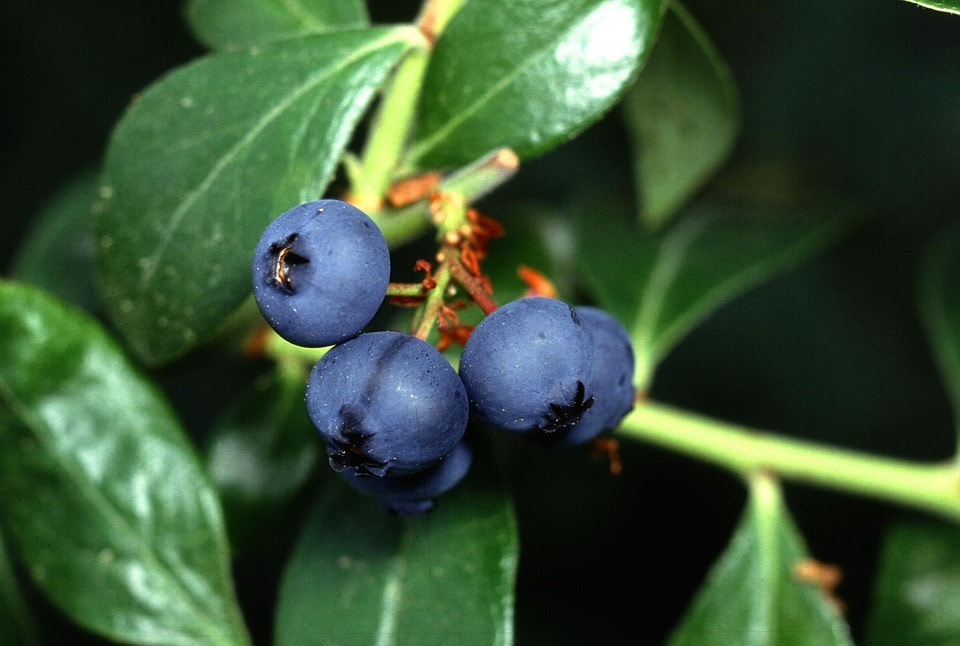 5: Blueberries
Blueberries can be tricky to grow, especially if your soil is not very acidic. They also require a fairly large pot along with an acidic growing compound in order to thrive properly, but the extra effort is worth it when you make a batch of muffins filled with berries you grew yourself. Although this is is not a complete list of fruits suitable for container gardening, they are my favorite. 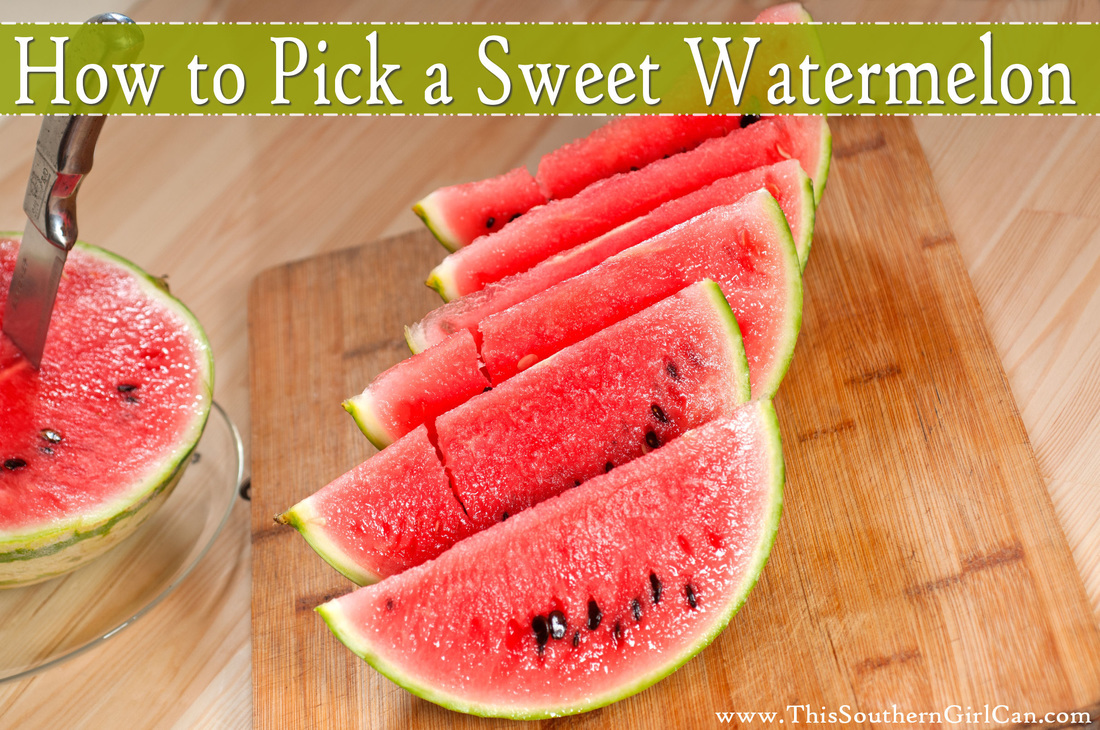 It's that time of year where you'll see watermelons in every grocery store and roadside produce stand, and nothing is more disappointing than cutting into one and discovering the inside is hard, pale, and not very sweet. That can surely put a damper on your cookout plans. I know that the good ole Southern way of traditionally picking out a sweet melon is to 'thump' it. Although this does work to an extent, there are a few other ways that I prefer. 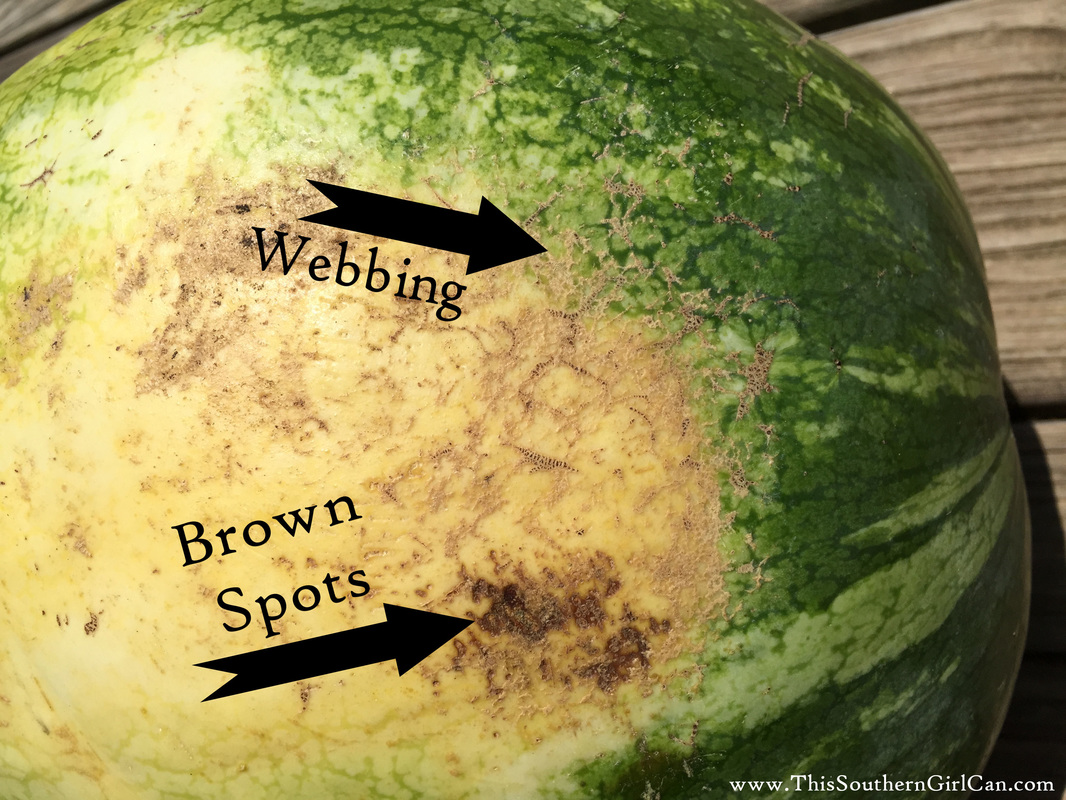 A yellow underside
I have found that the most reliable way of telling if a watermelon will be sweet or not is to check the underside. This bottom of a watermelon should be a creamy yellow, ( not white). This means the melon was allowed to lie on the ground and ripen in the sun before it was picked. If the melon is green all over, it means it was picked prematurely and won't be nearly as sweet. Brown spots and webbing The longer a melon lies on the ground, the more discolored the bottom will be. If there are brown spots, or even webbing, on the bottom, this is even better. This is pretty much a guarantee it will be sweet. As you can see in the photo above, there are plenty of brown spots and webbing on this melon I grabbed at the grocery store. Tiny holes When buying a melon from a farmer's market or roadside produce stand, check the melon for any tiny holes in small clusters anywhere on the skin. This means that bees were burrowing and trying to get to the sweetness inside. If there is any expert out there on the sweetness of a fruit, it's a bee. A dark stem When a watermelon is ready to pick, the stem will begin to naturally dry up and turn dark. If it is picked while the stem is still fresh and green, it will be bland. If the watermelon you are purchasing doesn't have a stem, just check the ends. One of them should have a dark spot where the stem was. If this spot is still light, leave it alone. Heaviness Because they are roughly 92% water, a good watermelon will be heavy for its size. A light-feeling melon means the insides have begun to dry out. Thumping Of course, I couldn't finish this article without telling you how to thump a melon. A melon should be thumped on its underside, and have a deep, hollow sound. A melon that is either under-ripe or over-ripe will sound dull. There ya go. Some of the best ways out there to find a sweet watermelon. If you're ever in doubt, simply make it a point to buy from a farmer's market. Farmers know their stuff, and won't harvest melons until they're ready. Ask the farmer to help you pick the best melon if you're still unsure. |