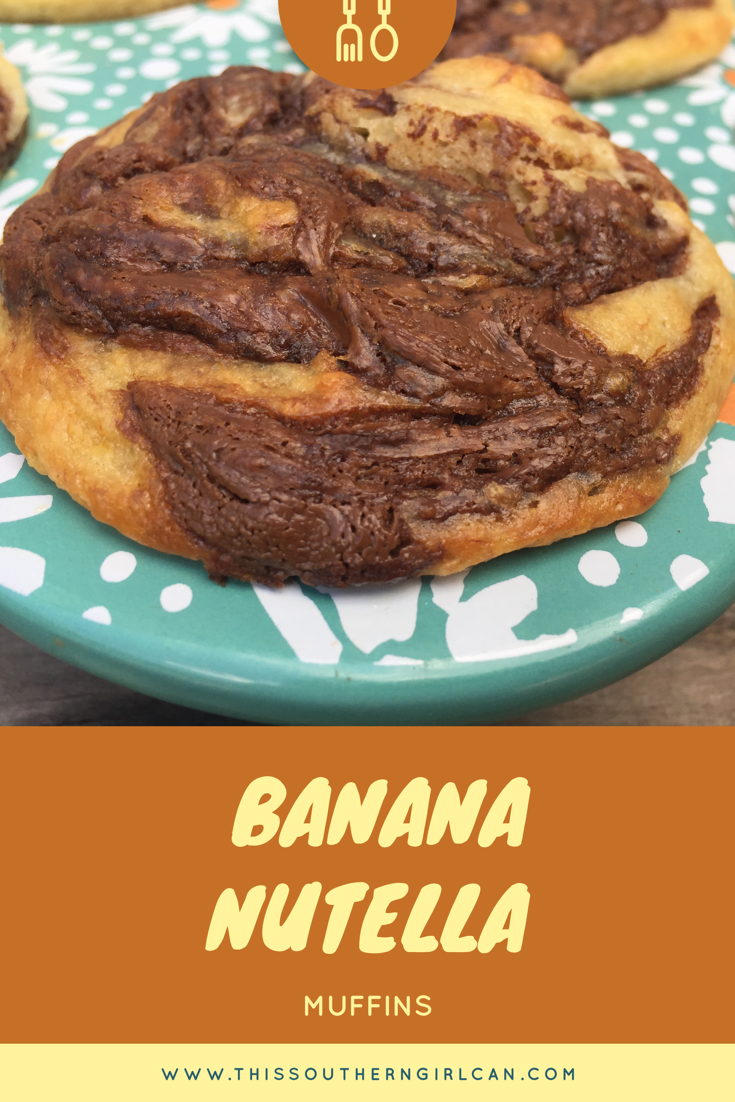
Everyone knows how much I love Nutella. Well, I love my homemade version, so I guess you could say I actually love chocolate hazelnut spread..... but somehow 'banana chocolate hazelnut spread muffins' just don't sound as appealing.
I make these muffins for my two little boys, but I can't resist grabbing one or two for myself. These are to be used as a snack, and not a dessert, so there isn't going to be a whole lot of sugar used here. My homemade chocolate hazelnut spread has much less sugar than traditional store-bought Nutella, which makes me feel good about making these. if you haven't made any yourself yet, check out my recipe here. Ok. On to the muffin making. What you need: 2 cups all-purpose flour 2 teaspoons baking powder 1/2 teaspoon salt 8 tablespoons unsalted butter, room temperature 3/4 cup sugar 2 large eggs 1 1/2 cups mashed, very ripe bananas 1 teaspoon vanilla extract 1/4 cup chocolate hazelnut spread extra butter for greasing the muffin tin How to make it: 1: Preheat the oven to 350°, and grease a 12-cup muffin tin with butter, or use paper liners. 2: In a medium-sized bowl, combine the flour, baking powder, and salt. 3: For this step, you'll need an electric mixer. On medium-high speed, cream the butter and sugar together until light and fluffy, which should take about three minutes. Beat in the vanilla, eggs, and bananas until smooth. 4: Using a spoon, gently and gradually stir in the flour mixture. 5: Divide the batter evenly among the muffin cups, and place 1 teaspoon of chocolate hazelnut spread on top of each cup. Swirl the spread and batter together a little bit with a toothpick. 6: Bake for roughly 22 minutes, or until golden brown on top. Let the muffins cool for five minutes in the pan, then flip them out onto a wire rack. Turn them all right side up and let cool completely. My kids absolutely love these for snack, and I don't mind letting them have an extra little smidge of my homemade chocolate hazelnut spread on top.
0 Comments
My grandma was born and raised in a tiny little mountain town called Unaka. She would tell me stories of how a man in a wagon would travel through the mountains to sell soap and coffee, explained how she made her clothes from flour sacks, and how bad the winters could be.
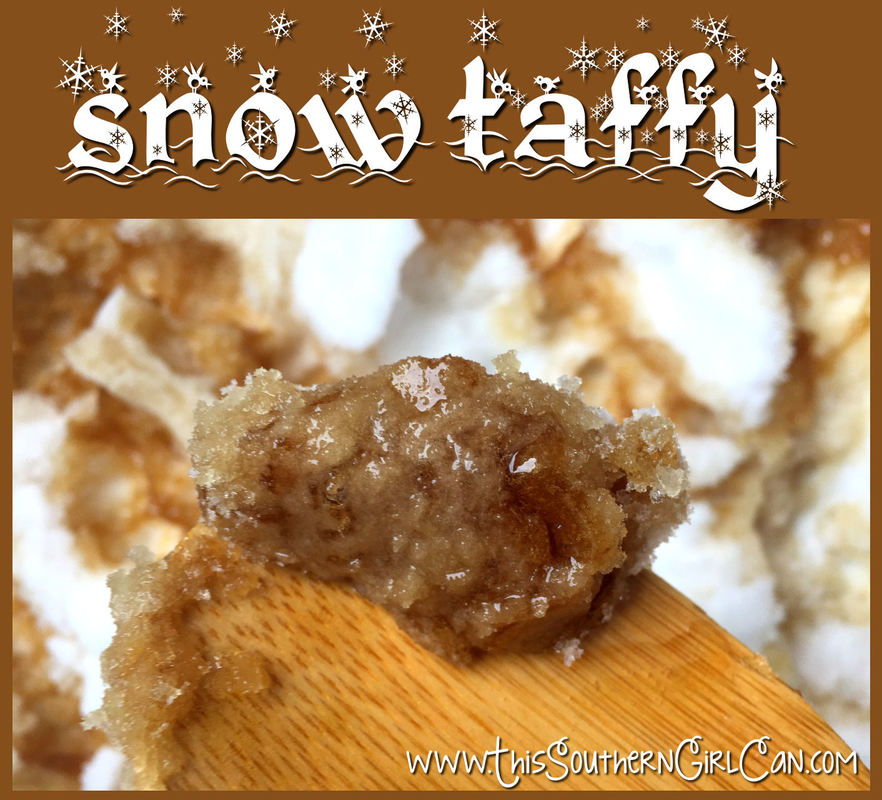
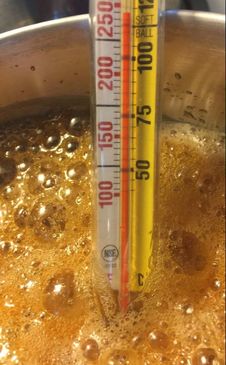
One of my most favorite childhood memories is sitting beside my grandma while she read to me. Laura Ingalls Wilder was one of my favorite authors at that time, and listening to grandma read Little House in the Big Woods was such a comfort. I loved hearing about how the family in that book lived and worked. I think that is why I now have such a deep love of canning my own food, using a woodstove, and carrying on other old mountain traditions. No matter how bad the people Wilder wrote about or my grandma had it, there was always a way to make something out of nothing. Tapping trees to get fresh maple syrup was a special winter treat, as you could make a delicious taffy candy from it. We got our first winter snowfall last night, and I immediately thought back to Wilder's stories of maple taffy. I always have pure maple syrup on hand, so I thought I would make a batch. Please note that this candy will liquify pretty quickly because of the water in the snow, so it is best to eat it as soon as you make it. Now, of course the people in the past did not have a candy thermometer to make their taffy, but I am using one to help remove the guesswork and prevent waste of expensive syrup. What you need: a baking pan or casserole dish PACKED tightly with fresh snow 1/2 cup of PURE maple syrup **Do not use maple-flavored fake syrups like pancake syrup. Only use pure Grade A or Grade B syrup.** heavy pot candy thermometer How to make it: 1. Place your pan or dish of packed snow on your kitchen counter. 2. In a small, heavy pot, boil the maple syrup until it reaches roughly 220-230 degrees (the soft ball stage). Once it reaches this temperature, keep it that way for right at 2 minutes. 3. Drizzle the syrup over the snow, and you will see that it toughens up into a gooey, taffy-like substance. Pick it up with your finger, or scoop it up with a spoon, and eat it! 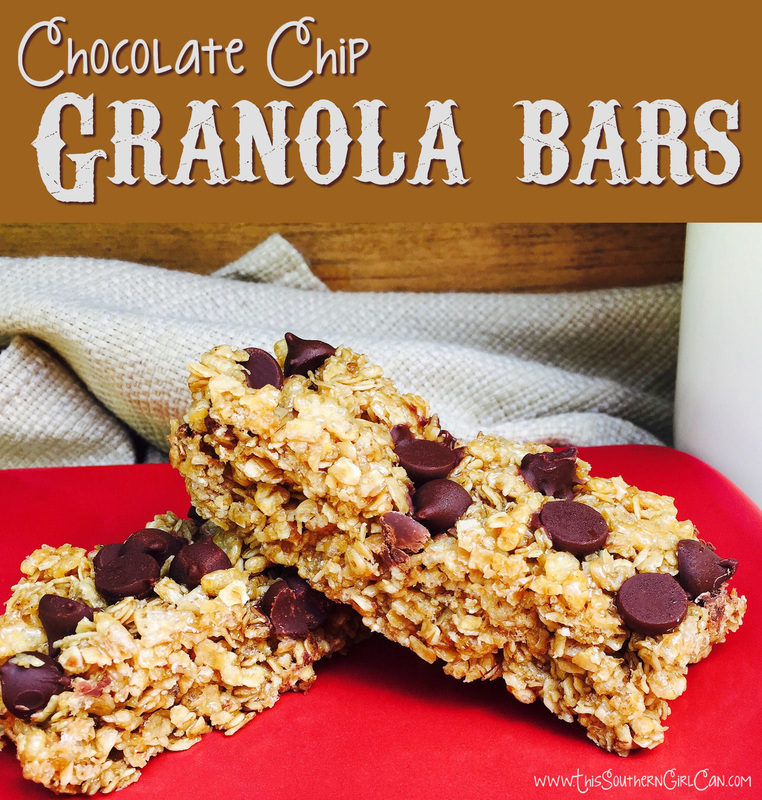
My boys LOVE granola bars, but the store-bought variety has so many questionable ingredients. Making them myself lets me control exactly what goes into them. These are so easy to make, and the best part about them is you don't even have to turn on your oven.
What you need: 1/4 cup unsalted butter 1/4 cup raw honey 1/3 cup packed light brown sugar 2 cups quick cooking oats 1 cup crispy rice cereal 1/2 teaspoon vanilla 1/4 cup mini chocolate chips How to make it: 1. Mix the cereal and oats together in a large bowl. 2. In a small saucepan, melt the butter, honey and brown sugar over medium high heat until it starts to get bubbly. Reduce the heat down to medium, and cook for a full 2 minutes, stirring constantly. 3. Carefully add the vanilla and stir again. 4. Pour the sugar mixture over the cereal and stir until it is coated. 5. Pour this mixture into a square baking pan (a 8x8 is good) that has been lightly coated with cooking spray or butter, and press down firmly. Top with chocolate chips and press them into the mixture. 6. Cool at room temperature for a few hours, then cut into bars. To store, wrap in plastic wrap or in Ziploc bags. Do not store them in the refrigerator, or they'll be too hard to eat. ***NOTE: If your bars aren't holding together very well after being cut, you may need to boil your sugar mixture a about 20 to 30 seconds longer next time. Make sure to press them down firmly in the pan. If they still aren't holding together, put them in the refrigerator for about 20 minutes. |