
Biscuits are a staple in any southern kitchen, and although they are incredibly easy to make, there's a huge margin for error. I have been served dry biscuits, salty biscuits, hard biscuits, and pasty biscuits. Luckily for me, my grandma taught me a long time ago how to make the perfect biscuit. It's easy to be taught what to do, but it's even more important to know what not to do. (Opening up a can of Pillsbury and throwing them on a pan should make this list, but that's a given.)
If you want tall, flaky biscuits that melt in your mouth, avoid the following five mistakes, and use my own personal recipe which can be found HERE. Mistake #1: Not chilling the ingredients Biscuit dough is similar to pastry dough in the sense that they both get their layers from a type of fat suspended in the flour. Many people make biscuits with vegetable shortening, lard, or coconut oil. But, I'm here to tell you, there is no way to make proper biscuits unless you are using butter. In fact, every nasty biscuit I have ever had in my life was made with a fat other than butter. The butter that you use needs to be ice cold in order to get proper flaky layers. Even the flour and butter milk needs to be chilled to produce a satisfactory result. A little tip here is to place your flour in a metal bowl and put it in the freezer overnight. This will make sure it is good and cold for the next day. Starting with a chilled metal bowl also helps keep the fat from melting while you're making the dough. Mistake #2: Mixing the dough with your hands The heat from your hands will melt the butter in the dough, causing your biscuits to fall flat. Only use a pastry cutter when incorporating the butter into the flour to prevent it from melting. I personally use and recommend this brand. Mistake #3: Overworking the dough Never use a stand mixer or food processor to mix your biscuit dough, as this will make it incredibly tough. Only mix the dough until the ingredients just come together, using a gentle touch. Think of biscuits as a delicate pastry, and not bread, and you'll do just fine. Mistake #4: Using a dull biscuit cutter If you want your biscuits to rise up tall, you need to use a sharp biscuit cutter. Also, use the proper cutting movements. You want to press the cutter into the dough in a straight, downward motion. DO NOT twist the cutter. Using a dull cutter or moving it in a twisting motion will actually seal the edges of the dough together, and will keep your biscuits from rising. If you're looking for a set of sharp cutters, I recommend THESE. They have nice handles and are extra tall, allowing you to cut really thick dough. Mistake #5: Ignoring the tops Once you have your biscuit dough cut and ready to go into the oven, you want to brush the tops with a 50-50 mixture of whole buttermilk and melted butter. Using only melted butter will give your biscuits a nice golden hue, but mixing in buttermilk will give them a nice crunchy coating. Much better than just plain butter. Making biscuits is much easier than you may think. Once you've had true southern biscuits made from scratch, you won't be able to stomach the canned variety ever again.
0 Comments
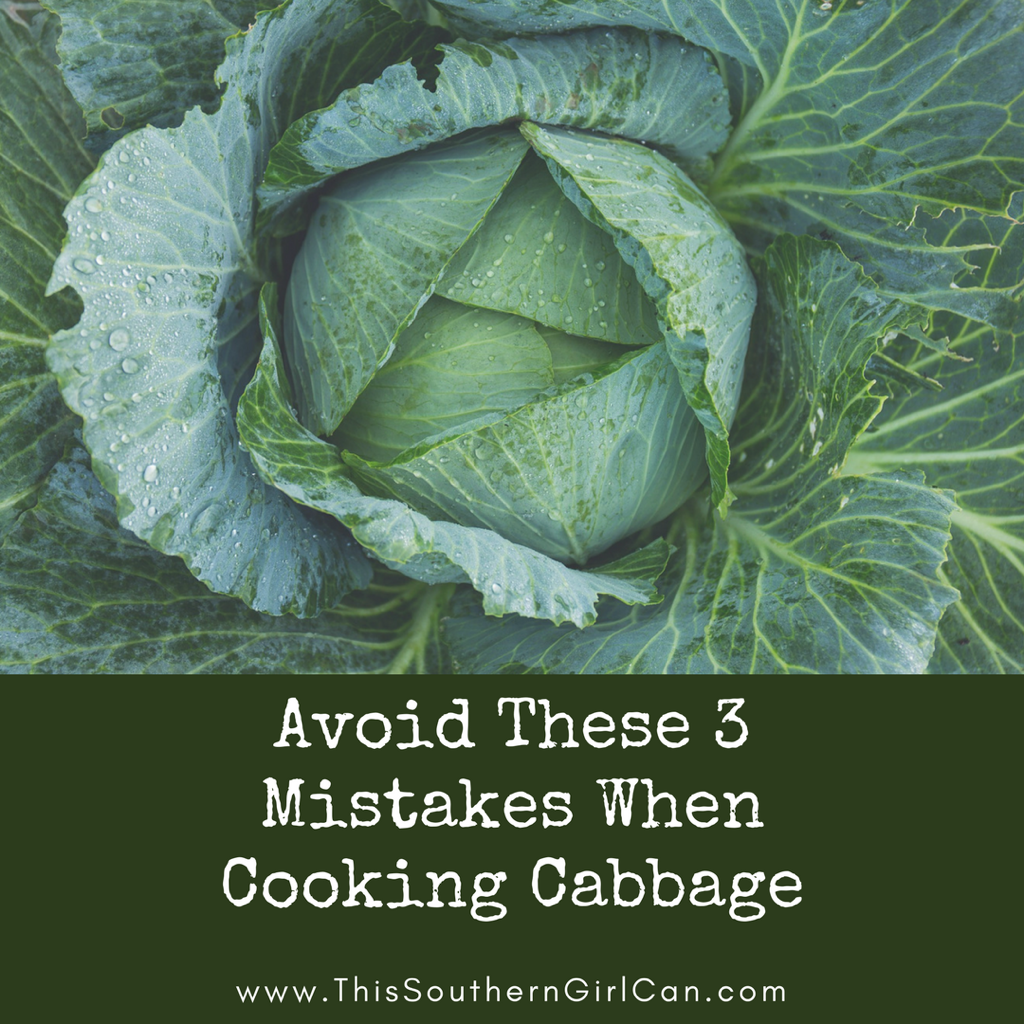 I absolutely adore cabbage; however, I'm incredibly picky when it comes to who prepares it. Most people simply chop a head of cabbage into oblivion and then thrown into a pot of boiling water until it is a heaping pile of green mush. This delicious vegetable is often overlooked because it is rarely prepared properly, causing you to miss out on many delightful dishes.
The following three mistakes are commonly made when preparing cabbage, and should be avoided at all costs. Mistake #1: Not using enough salt If you are mixing raw cabbage into a dish with other ingredients, such as coleslaw, always add salt first. This will prevent your slaw from becoming soggy before it can be served. Shred an entire head of cabbage and then place it into a colander. Toss with 1 tablespoon of salt, and cover with a tea towel. Let this sit for roughly 1 hour, and then squeeze out as much liquid as you can. The salt is not going to alter the flavor of the slaw, and removing this excess liquid will keep the cabbage fresh and crisp. Mistake #2: Always boiling There are so many various ways to prepare cabbage, so try to avoid simply boiling it if you can. Cutting a head of cabbage into wedges, coating them with a bit of olive oil, sprinkling them with salt and pepper, and then roasting them makes a delicious side dish to steak and potatoes. Sautéing chopped cabbage in a bit of bacon grease and then combining it with cooked, chopped bacon and a few fried onions is another delicious way to prepare this healthy vegetable. Mistake #3: Using the wrong variety There are more varieties of cabbage than just the standard green ones you see most commonly in the grocery store. Depending on the dish you're preparing, using the wrong type of cabbage will not only take away from the visual appeal, but also the overall flavor of your meal. Savoy can be used as a replacement in any recipe that calls for standard green cabbage. This is a great cabbage to use for sandwich wraps, because it's leaves are large and tender. If you're preparing the stir-fry, you want a cabbage that has a sweeter flavor, such as Napa. Bok choy is the best variety to use in sautéed dishes. Because it can turn odd colors once it is cooked, red cabbage is best used in raw dishes. If you're looking for a delicious way to prepare coleslaw, check out my recipe for The Best Coleslaw. 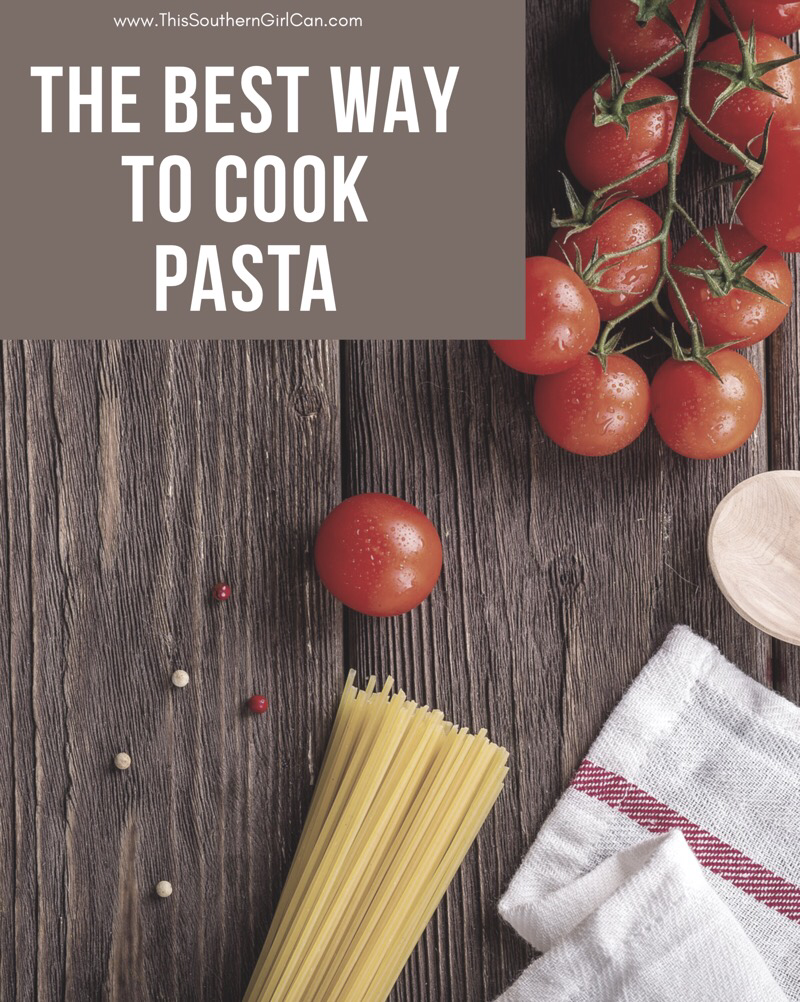 Cooking pasta really seems like a no-brainer, right? You grab a pot, add water, throw in the pasta, then boil until tender. It's a fast, easy way to curb your pasta cravings, but creating the perfect pasta dish requires a few more steps. Although the steps are easy, they will result in a much more tasty dish than simply boiling noodles in hot water.
Step 1: Use a large pot The number one mistake most people make when preparing a pasta dish is using a pot that is too small. In order for the pasta to cook properly, you need to use a large stock pot that can hold plenty of water, or you'll wind up with a sticky clump of mushy noodles. Step 2: Use plenty of water This step goes along with step 1. You really do need to use an adequate amount of water when cooking pasta so the individual pieces can move freely and be completely submerged while cooking. Step 3: Salt the water Because pasta is a starchy food, adding salt to the cooking water will greatly enhance the flavor. Don't be stingy here, either. For a 6-quart stock pot of water, you want to use at least a tablespoon of good quality salt. Personally, I only use pink Himalayan sea salt. It adds a distinct flavor, and boost of minerals to your food. Step 4: Boil, boil, boil Never add your pasta to water unless it is at a full, rolling boil. If the water is simply simmering, the pasta will not cook evenly, and may leave you with a few over or undercooked bits. Step 5: Stir, stir, stir It doesn't take but just a few seconds for cooking pasta to clump together. Never simply throw your pasta in the pot and then walk away. You need to stand guard and give it a few good stirs every 2 to 3 minutes to ensure the pieces are not sticking together. A lot of home cooks think that adding a bit of olive oil to the water will help prevent the pasta from sticking together. This is simply not true, and will prevent the sauce from bonding properly. A few good stirs is all you need to ensure your pasta doesn't stick together. Step 6: Check the cooking time You definitely need to check your package of pasta to see how long it needs to cook, but keep in mind that this cooking time is not set in stone. You want to check the firmness of the pasta 2 to 3 minutes sooner than the package states. It is much easier to cook the pasta a little longer if it is too firm that it is to deal with a plate full of overcooked, soggy mash. Step 7: Save that water A lot of home cooks overlook this step, but it may be one of the most important ones you ever come across: always save at least a cup of the water in which the pasta has been cooking. Adding a bit of this water to your pasta sauce will help it bond to the pasta so it doesn't all sink to the bottom of your bowl. There you go! That's all you need to know to create the perfect pasta dish. |