This Southern Girl Can
|
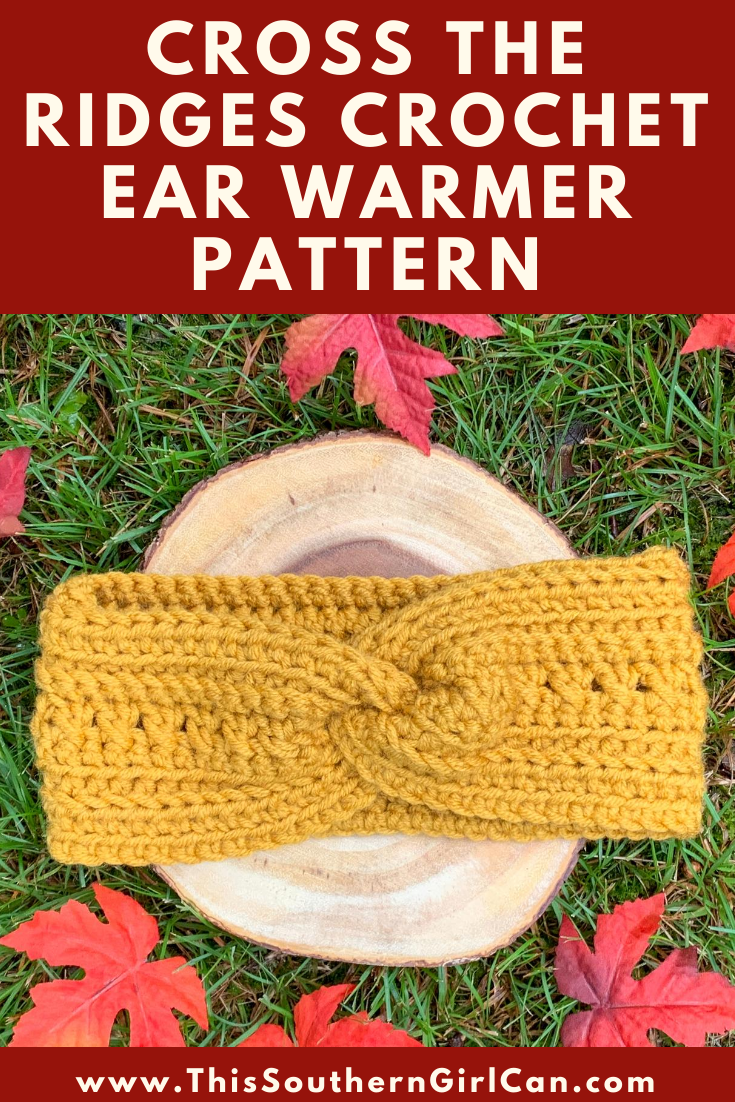
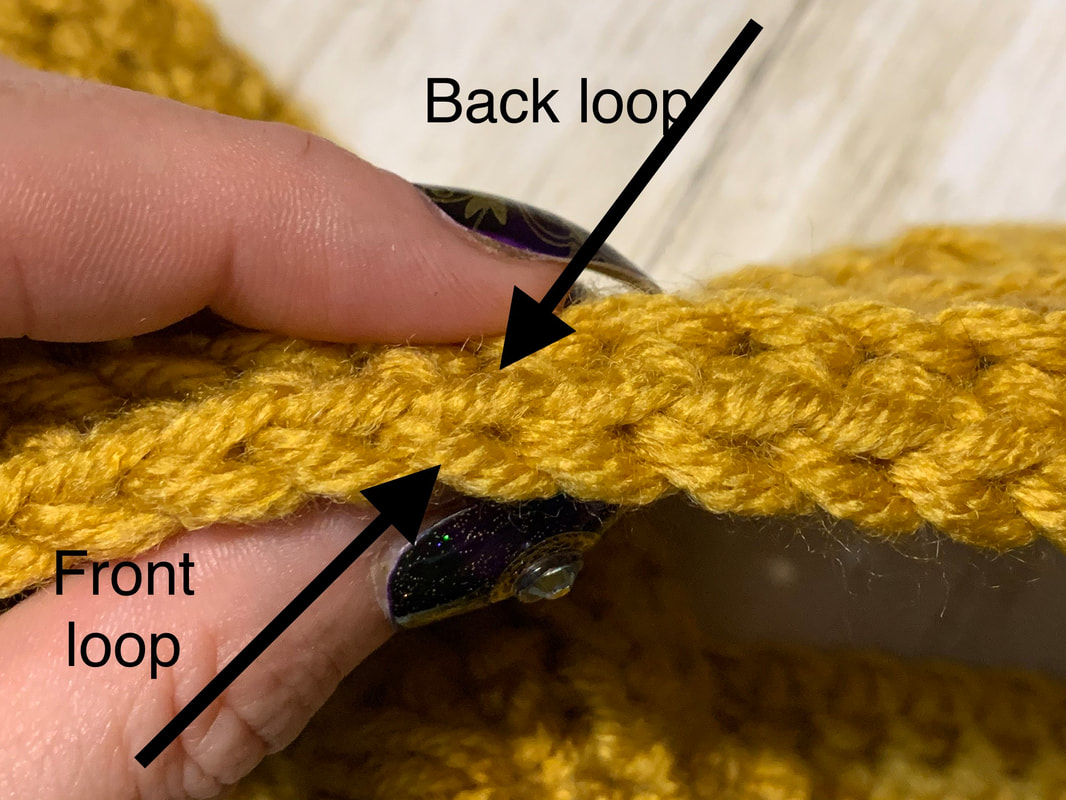
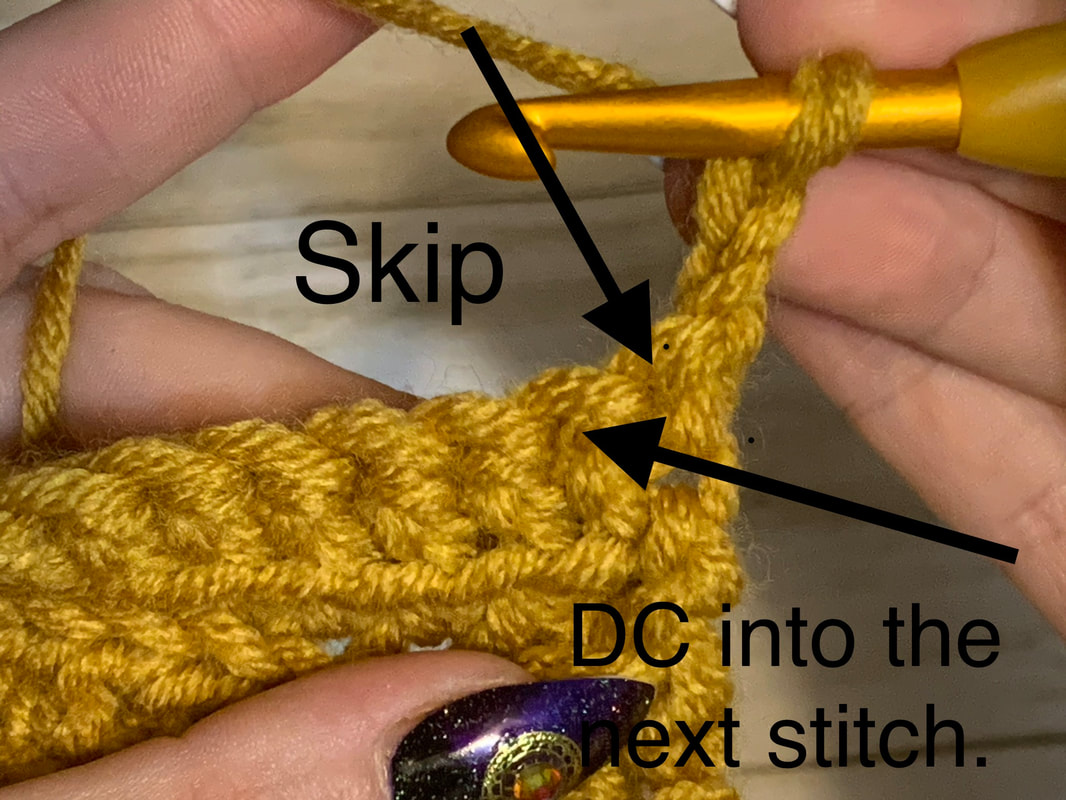
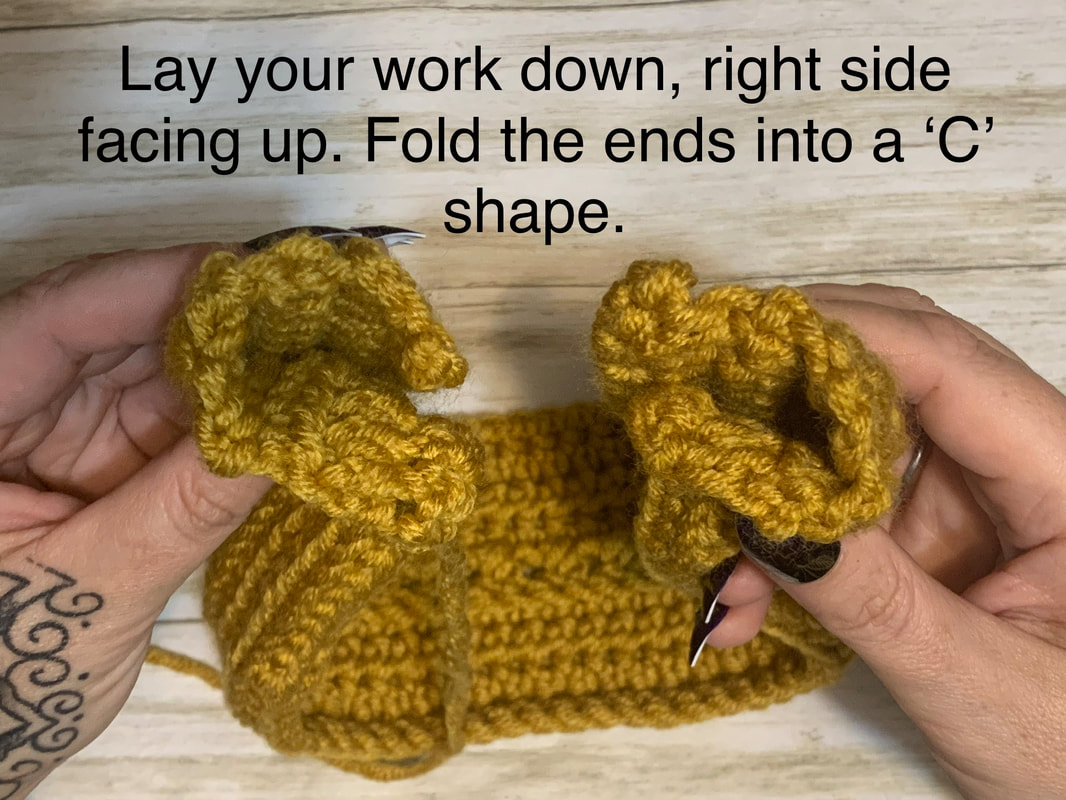
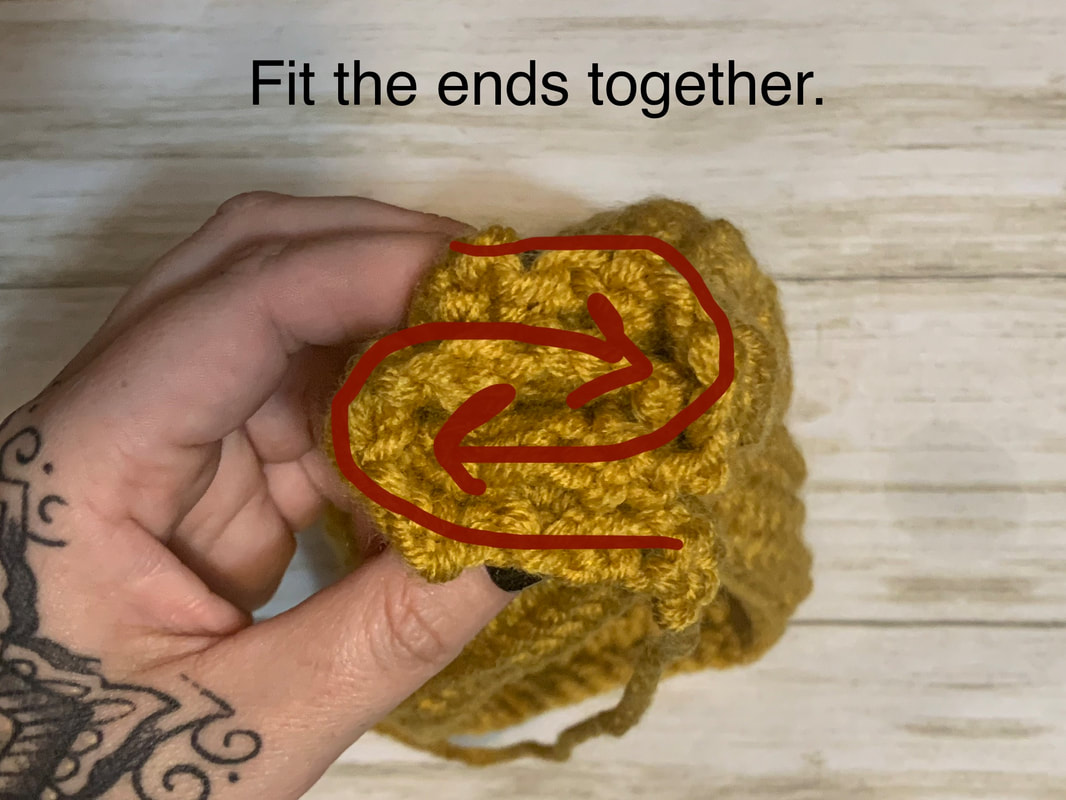
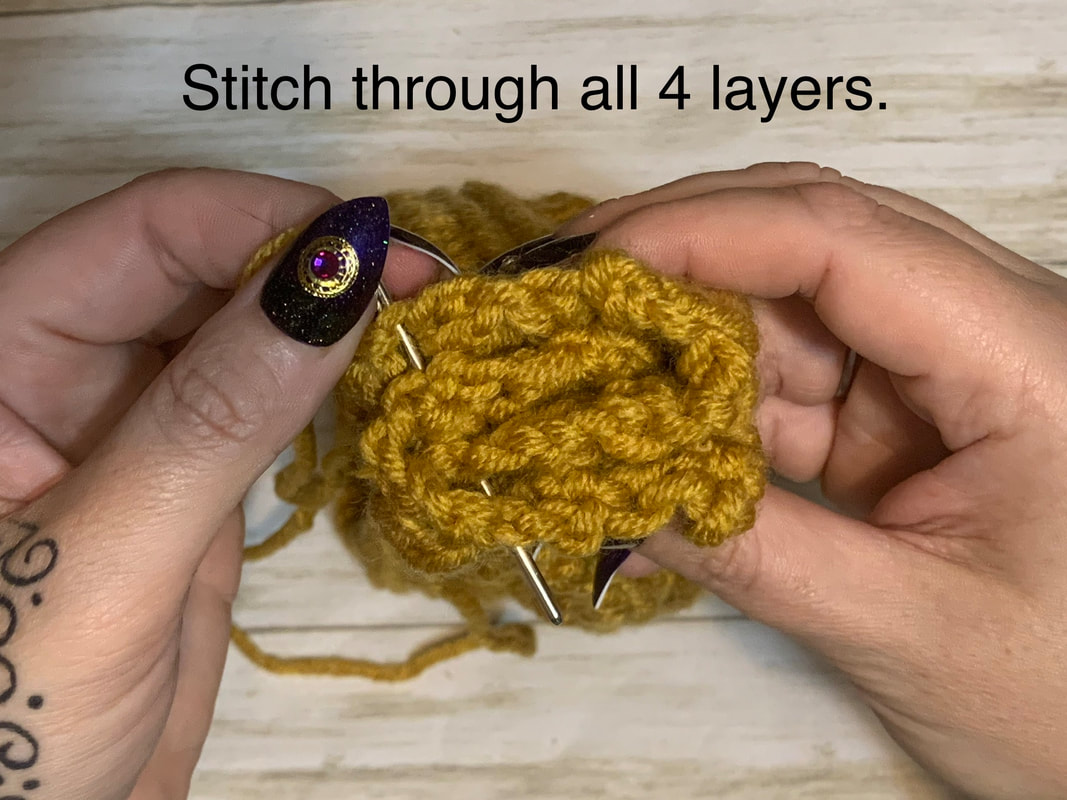
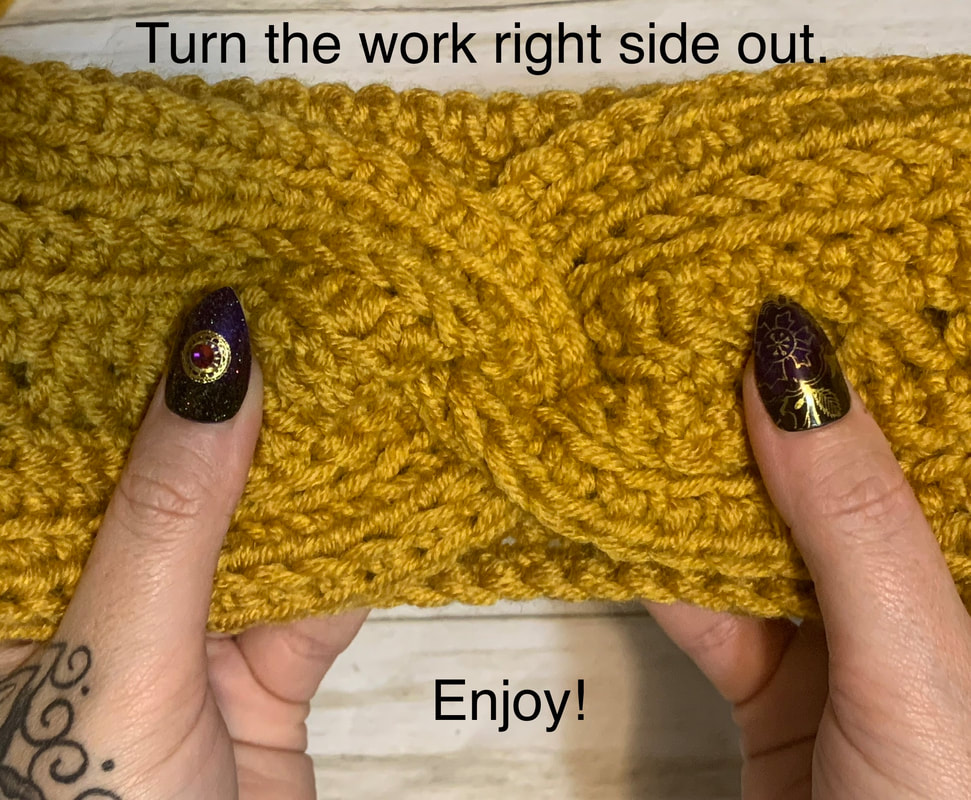
I love designing patterns that are pretty enough for gift-giving, yet easy enough for beginners to make. This pattern mixes easy stitches to give a big of texture. If you would like a printable PDF version of this pattern, please check it out in my Ravelry shop by clicking HERE. At the end of this post, you will find my video tutorial. As for the pattern, please do not reproduce it in ANY fashion. You may sell anything you make from this pattern. What You'll Need -A bulky 5 weight yarn. I used Color Made Easy by Lion Brand, in the color Mineral Yellow -Size 6mm hook -yarn needle -scissors Stitches & Terms Used Ch: chain SC: single crochet HDC: half double crochet DC: double crochet FLO: front loop only BLO: back loop only Pattern Note: The chains at the beginning of a row do NOT count as a stitch. This pattern is designed to fit an adult. It will be slightly snug at first, but will stretch with use. Chain 65 (make sure this chain isn't too tight) Row 1: SC in the 2nd ch from the hook, and all the way across. (64) Row 2: Ch 2, and turn. Working in the FLO, HDC into the 1st stitch, and every stitch across. (64) Row 3: Ch 2, and turn. Working in the BLO, HDC into the 1st stitch, and every stitch across. (64) Row 4: Ch 1, and turn. Working into the FLO, SC into the 1st stitch, and every stitch across. (64) Row 5: Ch 2, and turn. Skip the 1st stitch, and DC into the next stitch. Working in front of the DC you just made, DC into the skipped stitch. Skip the next empty stitch, and DC into the next stitch. Working in front of the DC you just made, DC into the skipped stitch. Repeat this all way across. (32 crisscrosses) Row 6: Ch 1, and turn. Working into the BLO, SC into the 1st stitch, and every stitch across. (64) Row 7: Ch 2, and turn. Working in the BLO, HDC into the 1st stitch, and every stitch across. (64) Row 8: Ch 2, and turn. Working in the FLO, HDC into the 1st stitch, and every stitch across. (64) Row 9: Ch 1, and turn. Working into the BLO, SC into the 1st stitch, and every stitch across. (64) Finish off, leaving a long tail to be used for sewing the ends together. Lay the project down, right side facing up. The right side is the one with all of the beautiful ridges. Fold each side in half, so it looks like the letter 'C'. Fit each side into each other. Using the yarn needle, stitch through all 4 layers of your work, from one end, to the other. Work your way back across to ensure strong stitching. Work away all of your ends, turn your work right side out, and enjoy!
0 Comments
|
|
Home
About Contact |
This Southern Girl Can is a participant in the Amazon Services LLC Associates Program, an affiliate advertising program designed to provide a means for sites to earn advertising fees by advertising and linking to Amazon.com.
|
