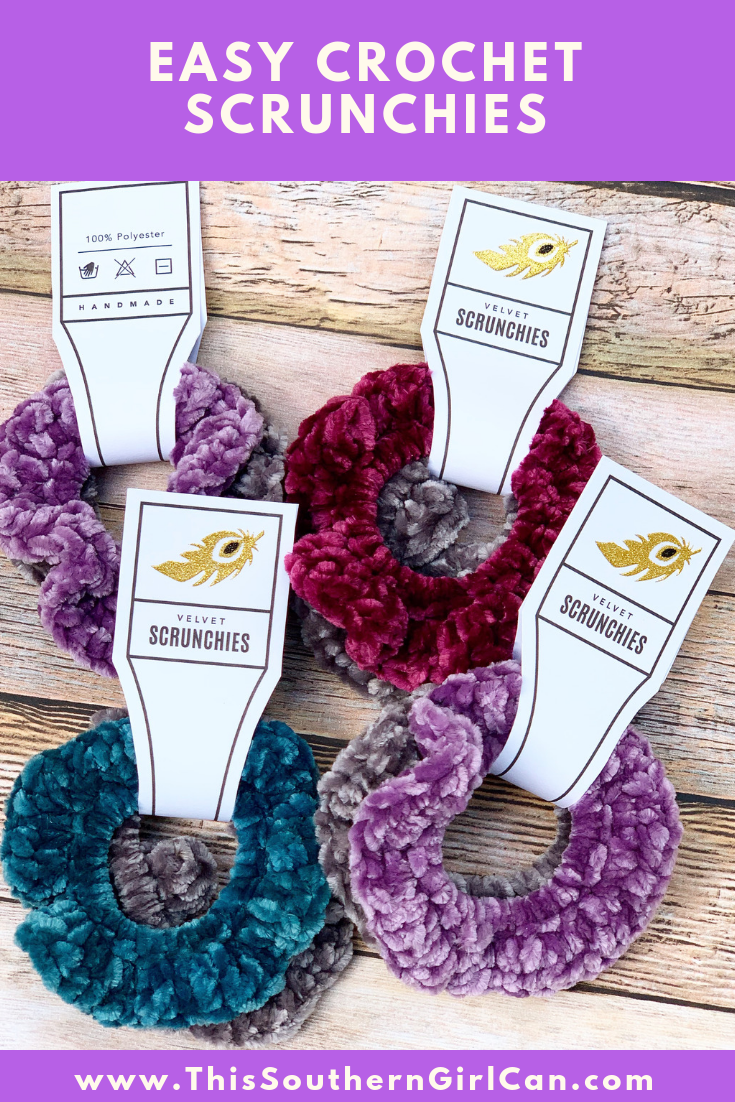
 I suppose everything old is new again, and hair scrunchies are no exception! I remember having these babies in so many colors!!! I was pretty surprised when someone asked me to make a few for her daughter, but I was also happy to bring back piece of my childhood through yarn! These are really simple, and are a great way to use up leftover yarn scraps. They make great stocking stuffers and wonderful impulse items at craft fairs. Slap a label on them, and you have a professional looking item! Sorry, I can't give you the file for my labels because these are mine, but you can make your own by purchasing and downloading the file here: Printable Scrunchie Tags. Now.... on to the easy hair scrunchie crochet pattern. Supplies: 5mm hook yarn needle scissors a hair elastic yarn (I'm using Bernat Velvet) How to Make It: Working into the hair elastic, make single crochets all the way around, being careful to not stretch it. Slip stitch into the first stitch and chain 2. Make a half double crochet into the same stitch. Make 2 half double crochets into each stitch around, join to the top of the first chain 2, and finish off. Work away your ends. Done! Need a video tutorial? Here it is!
2 Comments

Hello, all my fellow Happy Hookers! In this post, I'm going to show you how to make a crochet fish in a jar. These little things are great craft fair sellers, and are so easy to make, you'll want one in every color imaginable!
By the way, would you like some FREE printable labels and wraps for your crocheted items? Check out the ones I've created just for my very special readers, HERE. What You'll Need: a free fish Pattern, which can be found HERE. clear thread or fishing line beads or rhinestones for the eyes rocks or glass pebbles a clean jar with a lid hot glue sticks ( I use Gorilla Glue sticks. They work best for glass.) a piece of plastic fish tank greenery (optional) 2 strong magnets (optional) (I am putting links to everything you need which can be found on Amazon right below here. I suggest looking for the jars in a craft store, as they can be costly online.)
How To Make It:
1. First, let's start with our little fishy friend. I made mine with sport weight yarn and a 3.5mm (E4) hook, and a tiny bit of polyester fiberfill. I made my fish based off of this free pattern I found over at Lily Razz, which can be found HERE. I made my fish based on that pattern, and made up my own fins, which consist of chaining 9, 1 sc in the 2nd ch from the hook, 1 sc, 1 hdc, 1 hdc, 1 dc, 1 dc, 1 trc (treble), 1 trc, then fasten off, and stitch to the body. PLEASE NOTE: these are US stitch terms. IF YOU ARE USING A MAGNET, PLEASE SKIP DOWN A BIT AND READ MY SECTION ON MAGNETS. 2. Once you have your fish made, thread a bit of clear thread or fishing line through the top, and then glue to the top of the jar, leaving enough for your fish to be able to hang. I put a spot of hot glue on the top of the jar, placed my thread, then placed a glass pebble on top to sort of hide the ugly glue. Use a craft knife to carefully trim away the excess glue, being careful not to cut your thread to the fish. 
3. Add a handful of glass pebbles or rocks to the bottom of your jar.
4. Snip off a piece of the plastic fish tank plant, and glue it to a rock or glass pebble, and place in the jar. 5. Close your jar and you're done! Now you know how to make a crochet fish in a jar! I hope you enjoyed this crochet fish in a jar tutorial, and I hope to see y'all back real soon. Bye! **NOTES ON MAGNETS** Ok. Quick lesson on magnets. Of course we all know magnets attract each other, but they can also repel each other. If you want to use magnets in this project, it can help make your fish 'swim' a little more. To do this, you need to place a magnet in your fish before you sew it shut. Make sure the magnet is laying flat in the bottom of your fish. Glue another magnet to the bottom of your jar, but MAKE SURE the two 'attracting' sides are not facing each other, as this will cause your fish to hold still. You want the 'repelling' sides of the magnets facing each other, as this will cause your fish to wiggle a while with even the slightest little shake of the jar. Weak craft store magnets are not ideal. You need strong, neodymium magnets as I link to above. 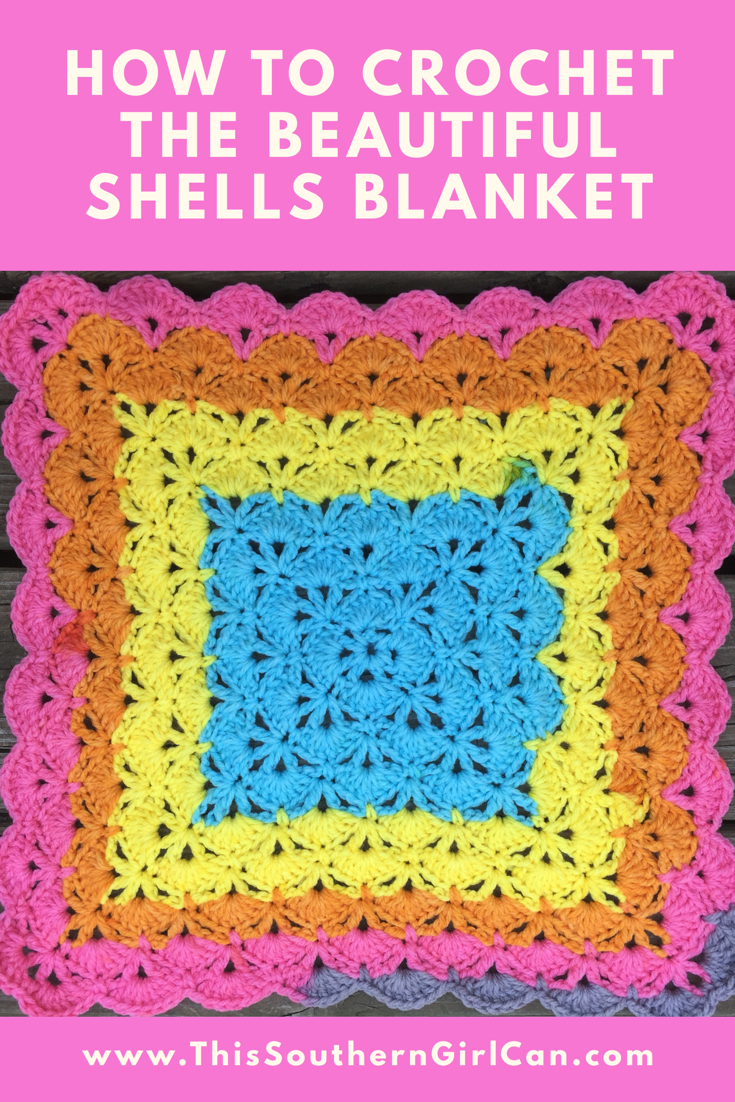
The beautiful shells blanket is a crochet pattern that has been around for many years, and has been re-written numerous times. My grandmother taught me how to whip up this simple design, and now I am passing it along to my readers.
**SCROLL DOWN TO THE BOTTOM OF THE POST TO SEE A VIDEO TUTORIAL**
The Beautiful Shells Crochet Pattern
Row 1: Ch4, *1dc in 4th chain from hook, ch1 repeat from * 6 times, slip stitch into the 3rd chain of the starting ch4 (this counts as the first dc in the round). Row 2: Ch1, sc in first ch1 space (this is the 4th ch of the beginning ch4), *7 dc in next ch1 space, sc in next ch1 space) repeat from * 3 times, 7 dc in next ch1 space, slip stitch to first sc of the round. (You should have 4 shells, and 4 sc total at this point.) Row 3: Ch4, all in the same stitch work (1 dc, ch3,1dc, ch1, 1dc – starting v-stitch cluster made), *ch 5, skip the next 7 dc, in the next sc work v-stitch cluster, repeat 2 more times for a total of four v stitch clusters, chain 2 and dc into the 3rd chain from the first v-stitch cluster. Row 4: 7 dc in next ch1 space, sc in ch3 space, 7 dc in next ch1 space (shell cluster made) – sc into the 4th (middle dc) of the shell of the previous row – make sure the sc goes around the ch5 – securing the ch5 down – Shell cluster in next v-stitch cluster, sc into the the middle dc of shell from below – 3 more times. Row 5: ch4, dc in same sc (first v-stitch on first side of square made),ch5, v-stitch cluster into the sc of next corner shell cluster, ch5,* v stitch into the next sc between shell clusters (vstitch on 2nd side of square made)ch5, v-stitch cluster into the sc of next corner shell cluster, repeat from * 2 more times, ch2 and dc into the 3rd chain from the starting chain 4 of the round.
Row 6: *Shell into the first v-stitch, sc into the middle dc of the shell below, shell cluster in the next vstitch cluster, sc into the middle dc of the shell below, repeat from * 3 more times.
**The foundation of your blanket is now complete. For the remainder of the blanket, repeat rows 7 and 8, until the blanket is the size you want. You will always end on a 'Row 8' at the end of your project. Row7: Ch4, dc in same sc (counts as first v-stitch), (ch5, v-stitch in the next sc) to first corner, ch5, vstitch cluster in the corner, *ch5 v-stitch in sc between next shell, ch5 (do this to the next corner shell cluster), v-stitch cluster in middle sc of corner shell cluster, repeat from * until you have done a shell cluster in the 4th corner. Then – ch5 and v-stitch into each of the sc between shells until right before you get to the first v-stitch of the round, ch2 and dc into the 3rd chain of the first v-stitch. (On row 7 this will be right after the fourth corner cluster, but as your piece grows, there will be more before you get to the initial starting v-stitch). Row 8: *7dc in next v-stitch, sc ** into the middle dc of the shell below, repeat from * to ** til you get to the next corner v-stitch cluster – shell cluster in v-stitch cluster, sc in middle dc from row below*** repeat * through *** 3 more times - to end of round. |


